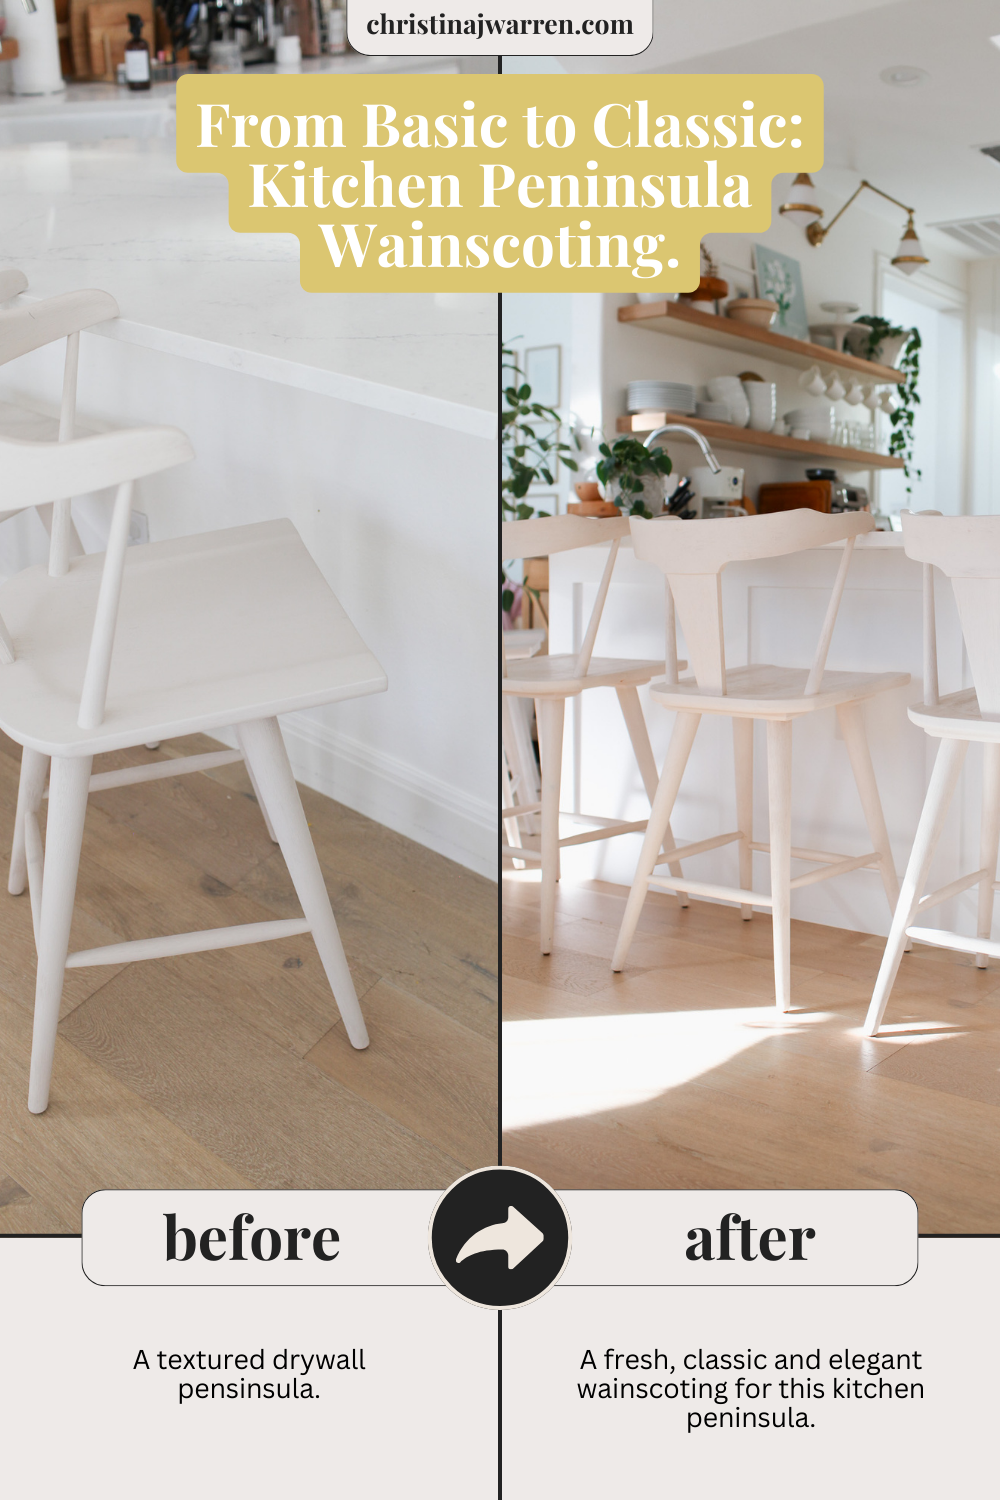
It was the custom paneling that was honestly the most painful feature to leave behind at our previous home. I really broke up this remodel to make sure we were going to stay here before layering in those design projects that you don’t really get back in dollars when you sell your home. So after five years and feeling rooted, it was time!
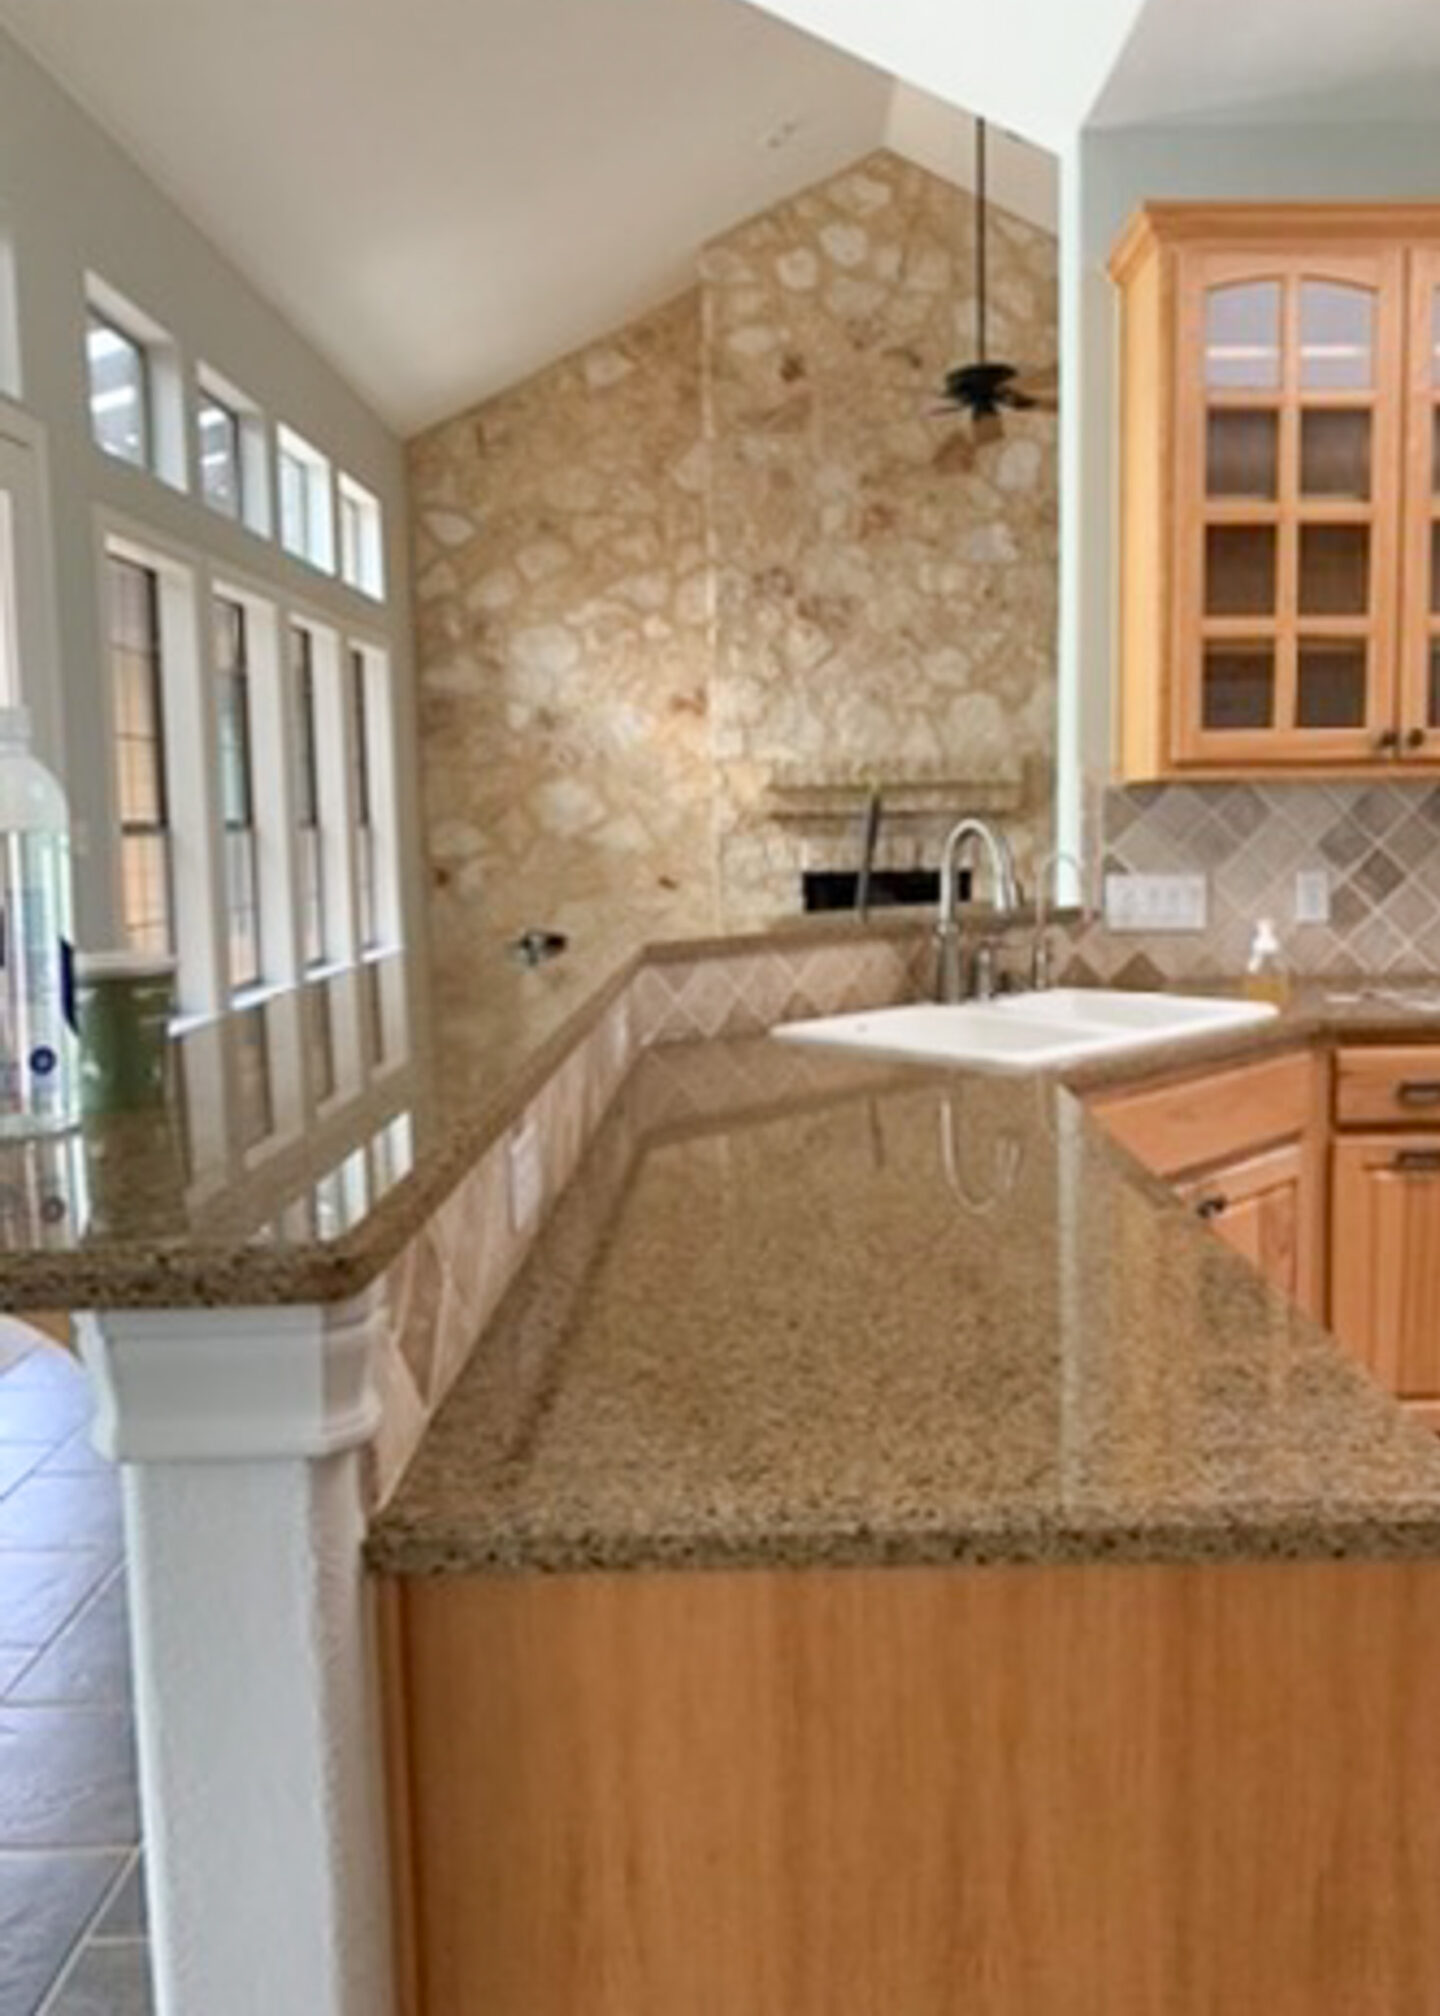
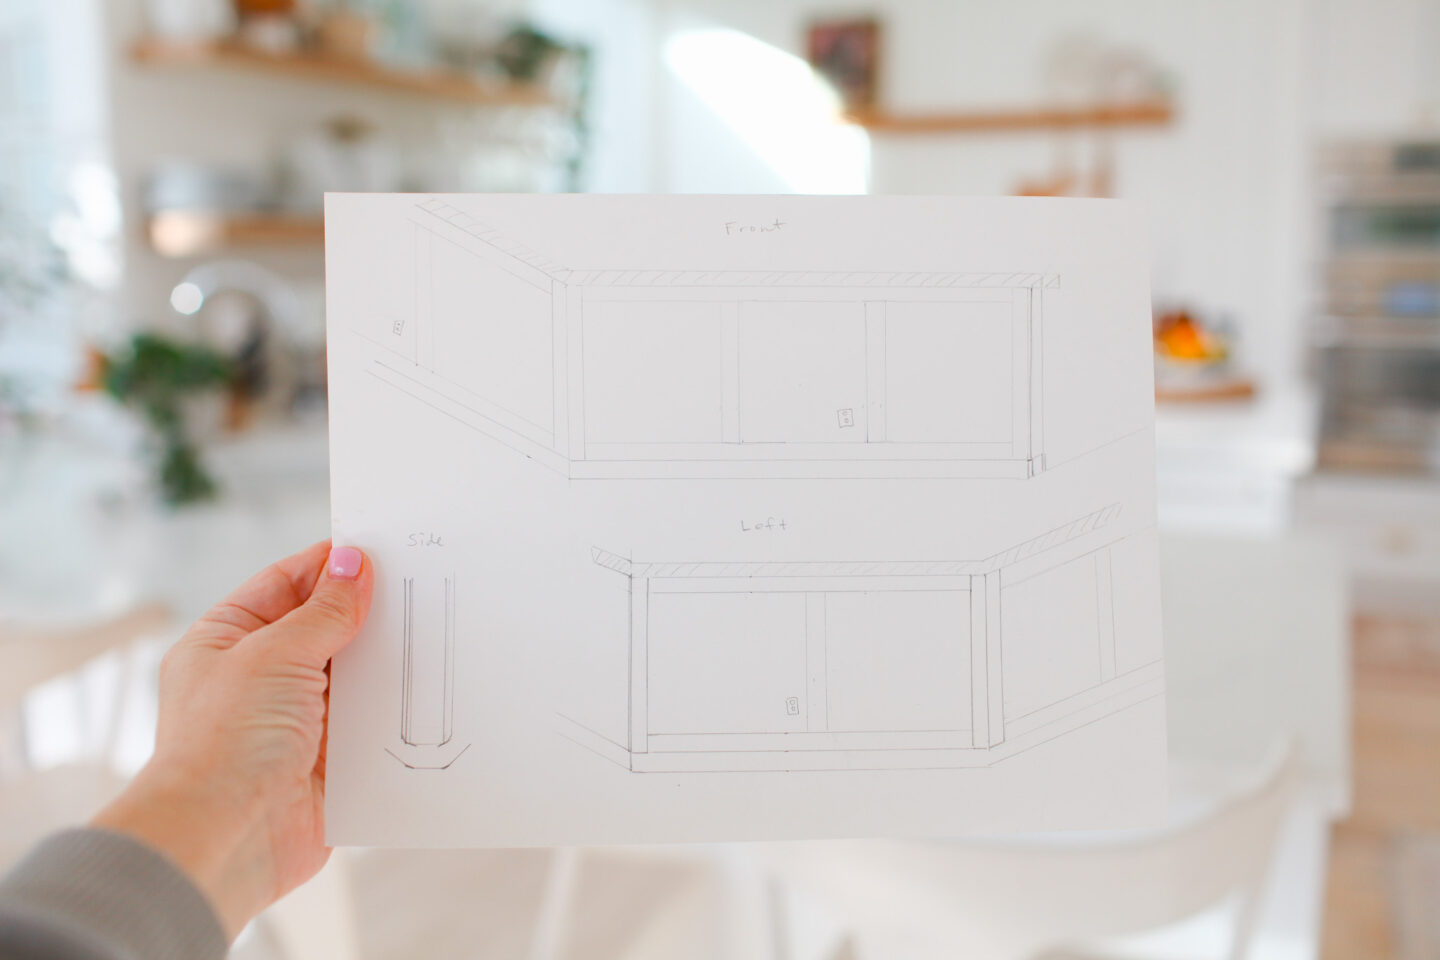
I had been drawing up the plans for this and even planning on doing it myself. After hours of power tool research, I was a click away from purchasing when I found out I was pregnant with our fourth baby. I decided to hire out for this project and zero regrets! Let me dive into the details and what you need to know before you start. First let’s remember where this kitchen started.
Instant Sophisticated Custom Upgrade
Let’s revisit that FOMO of our previous home. The previous owners had installed beautiful custom wainscoting work throughout the house around 20 years before we purchased it from them but it still was absolute magic. These trims make a home feel out of a movie home. I want my house to say, “I’ve lived here a long time. Quality, slowness and charm make life beautiful.”
I chose a basic shaker style (unlike the more detailed one at our previous home) to go seamlessly with the cabinets we chose. Your cabinets will be your guide!
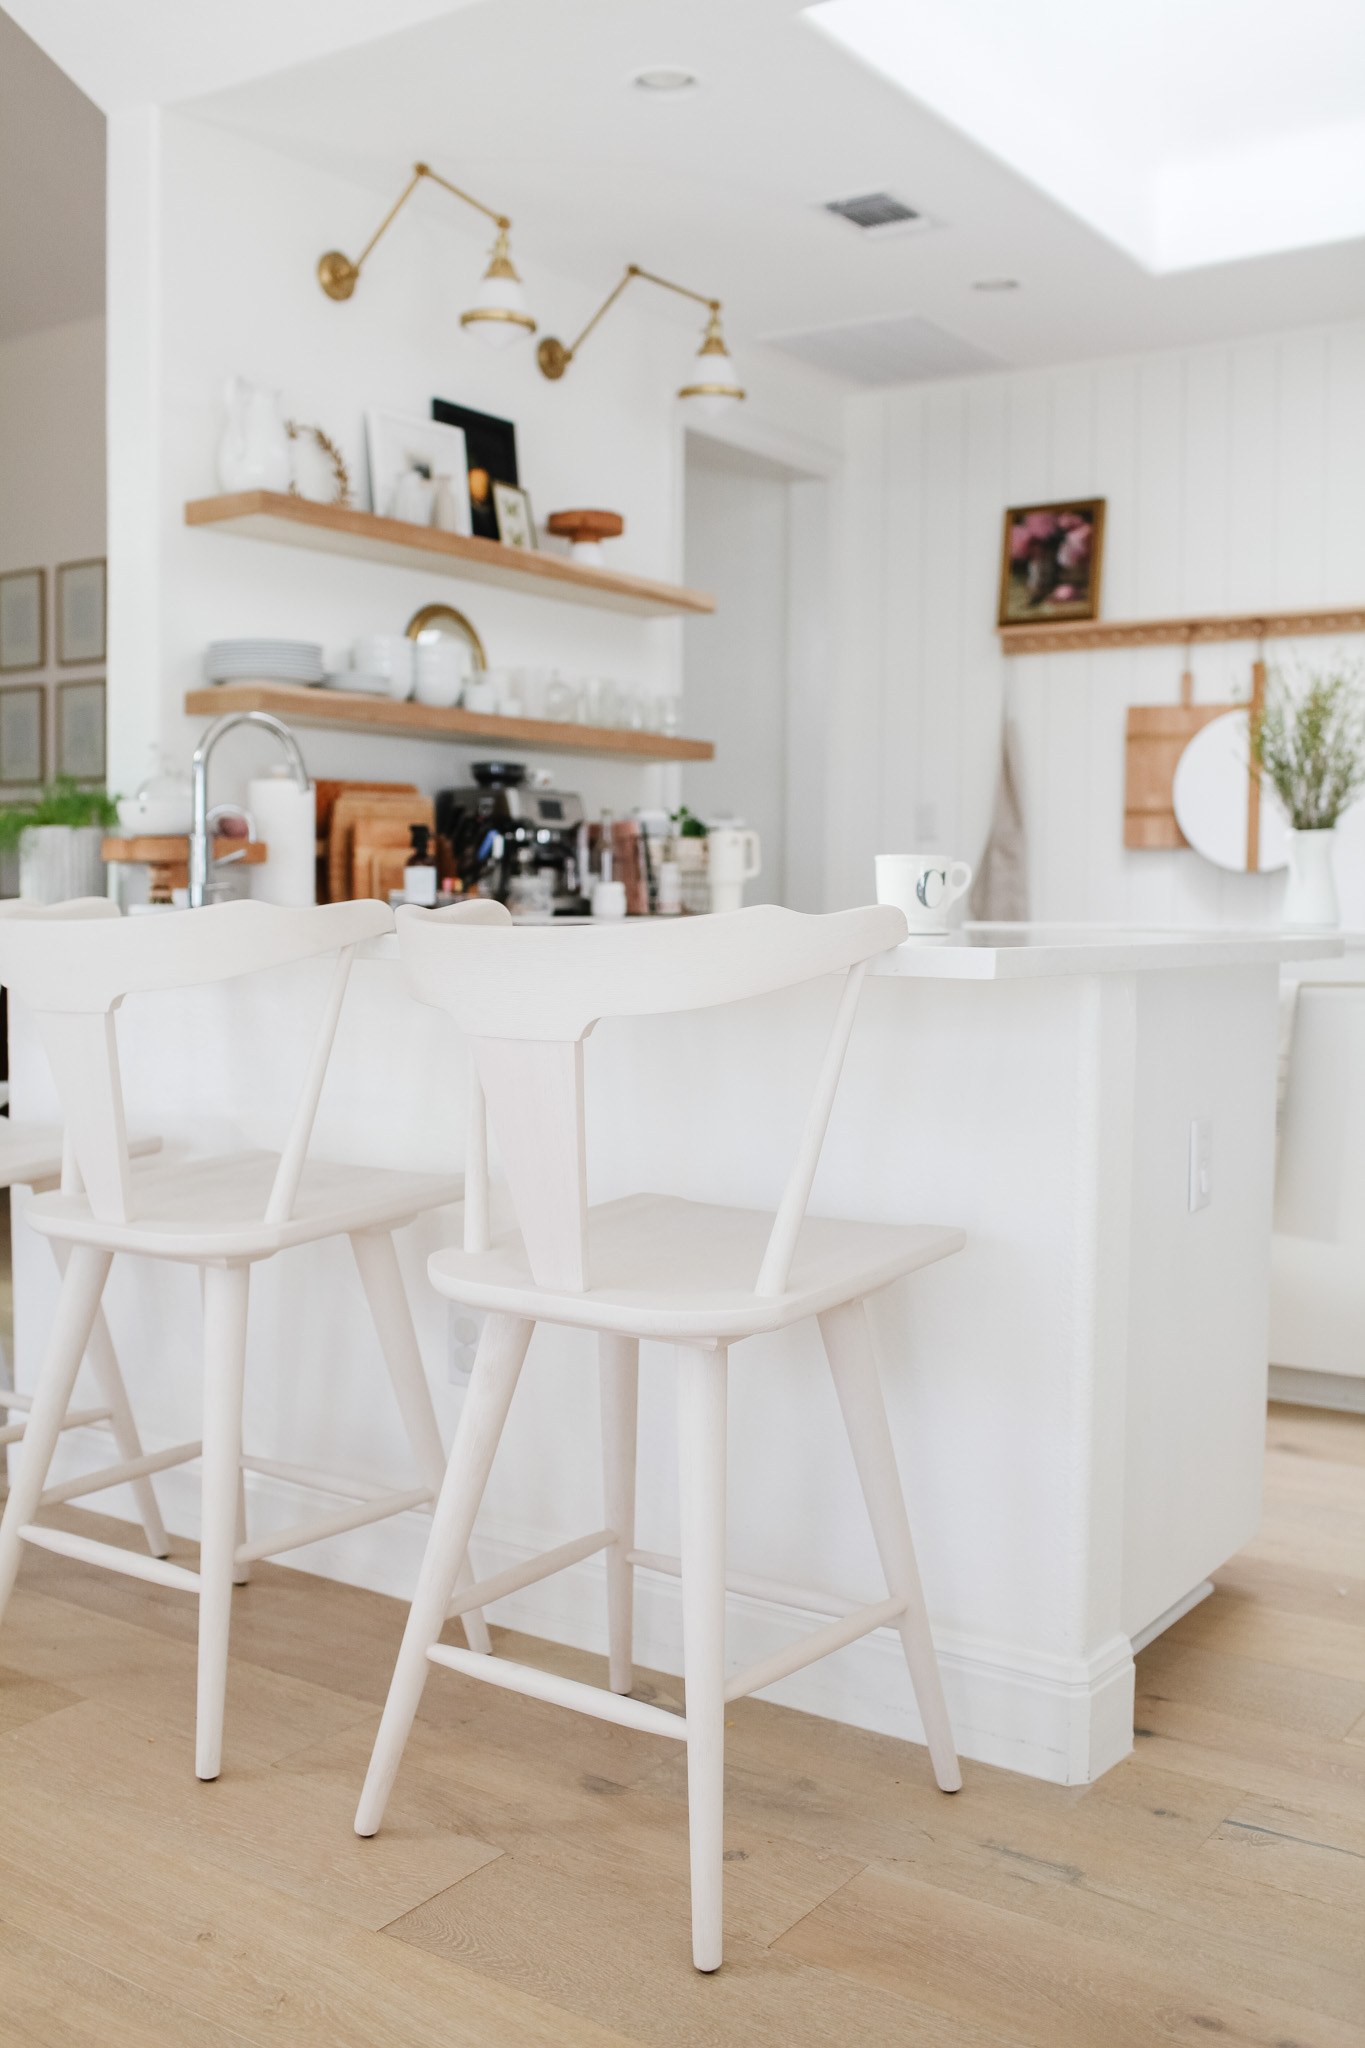
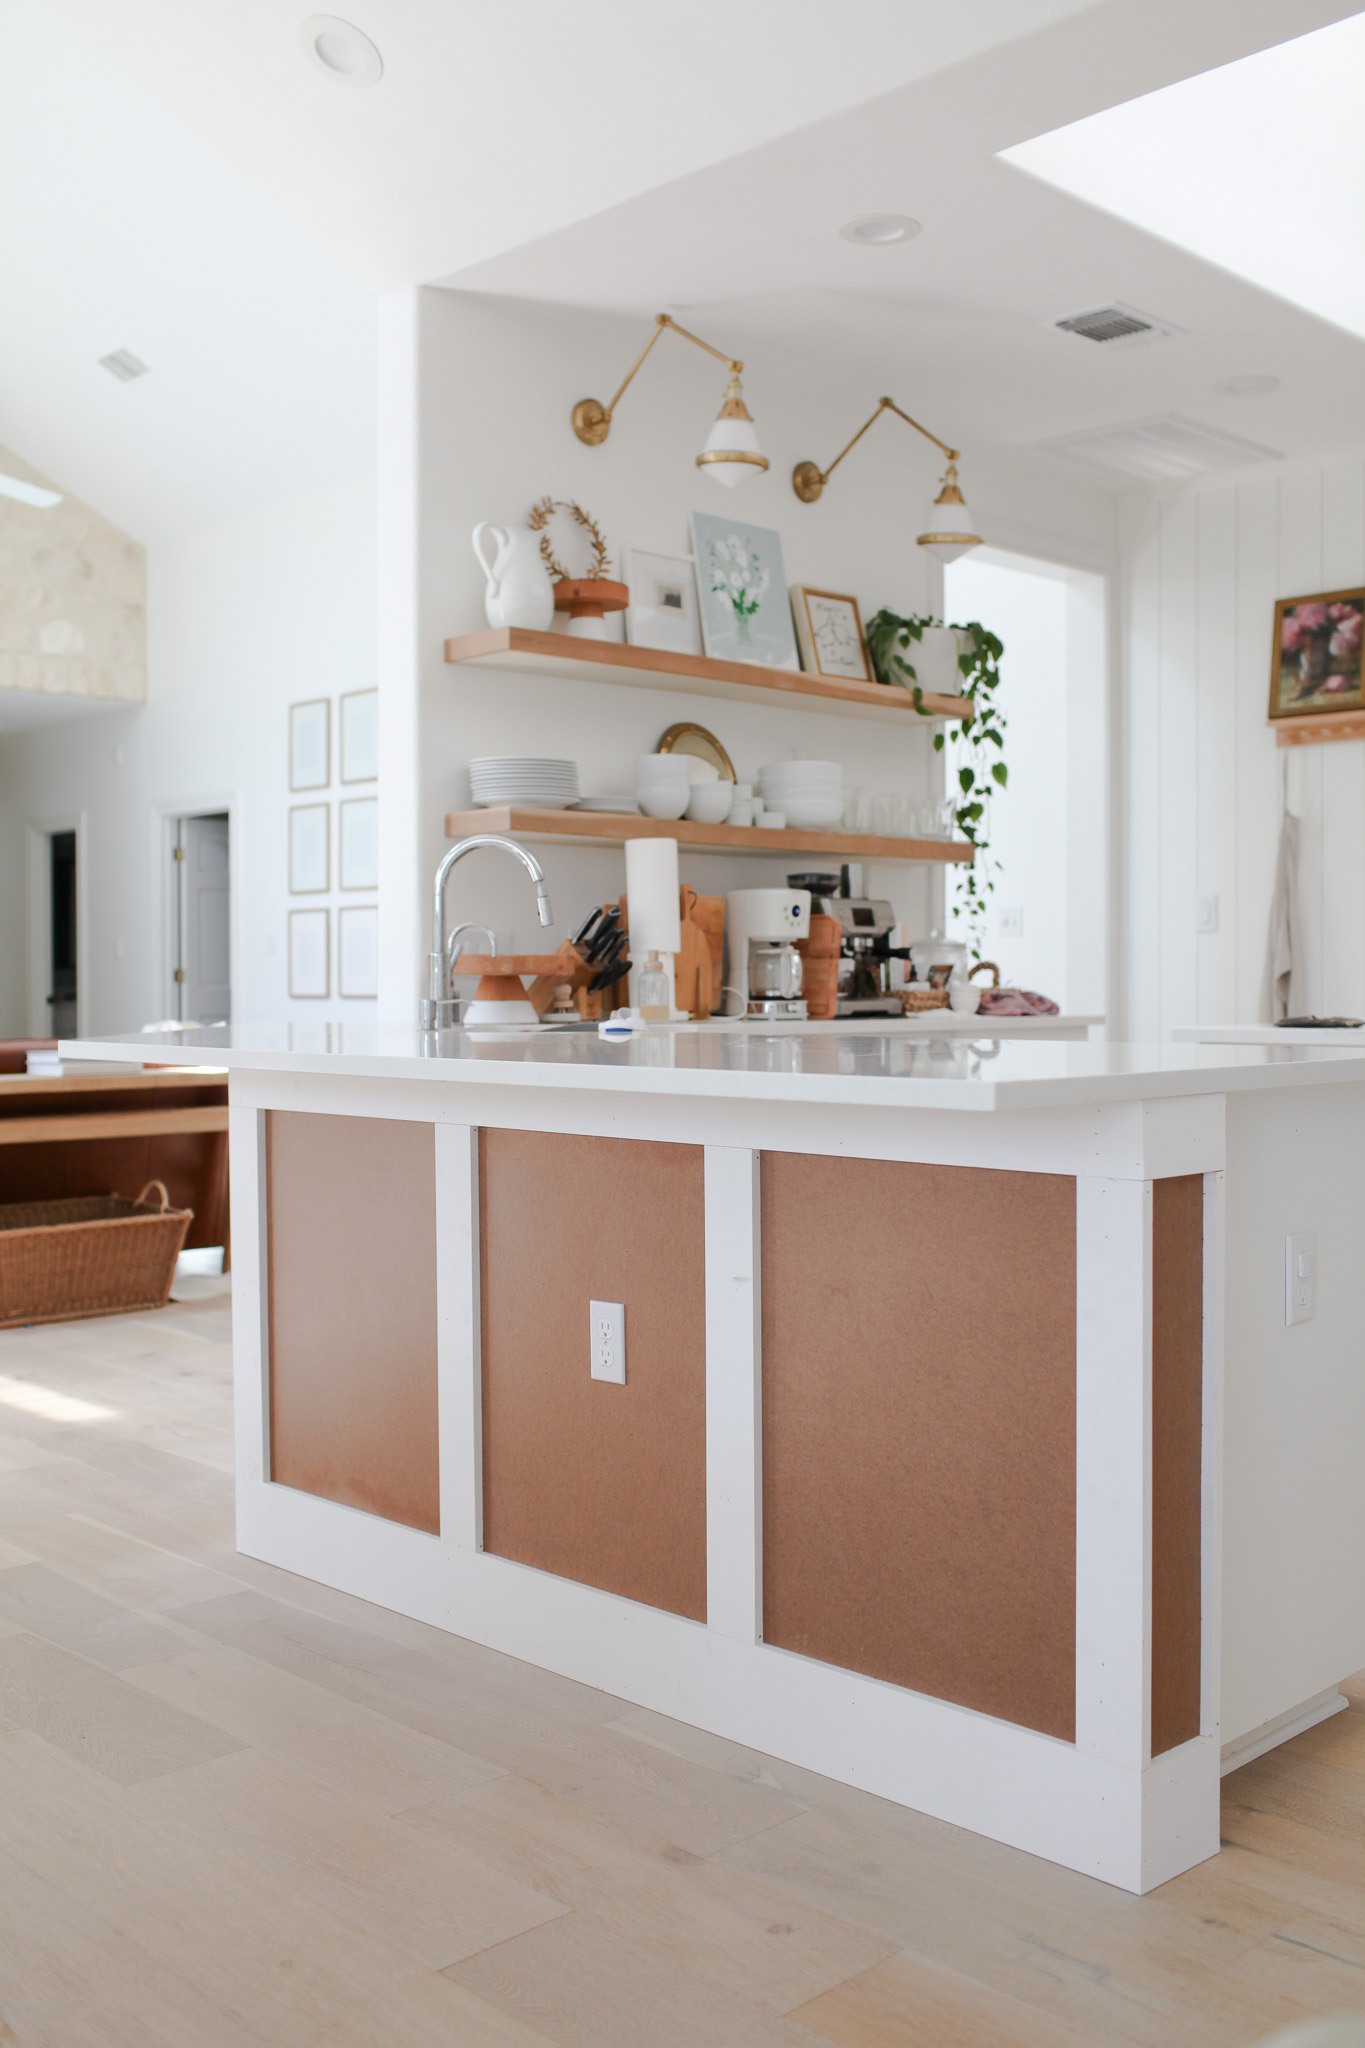
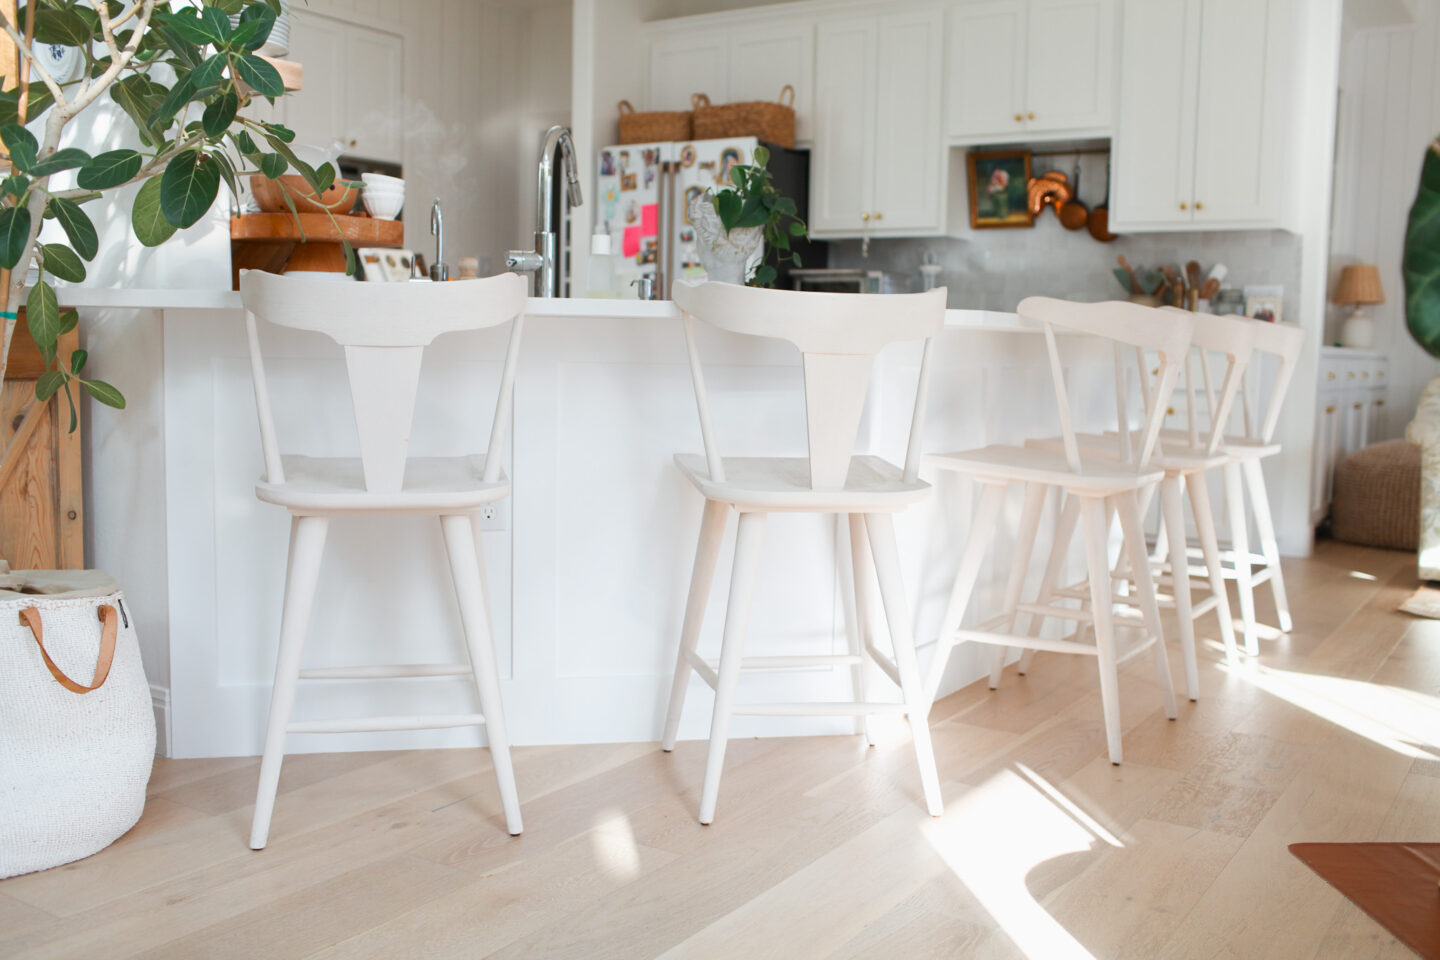
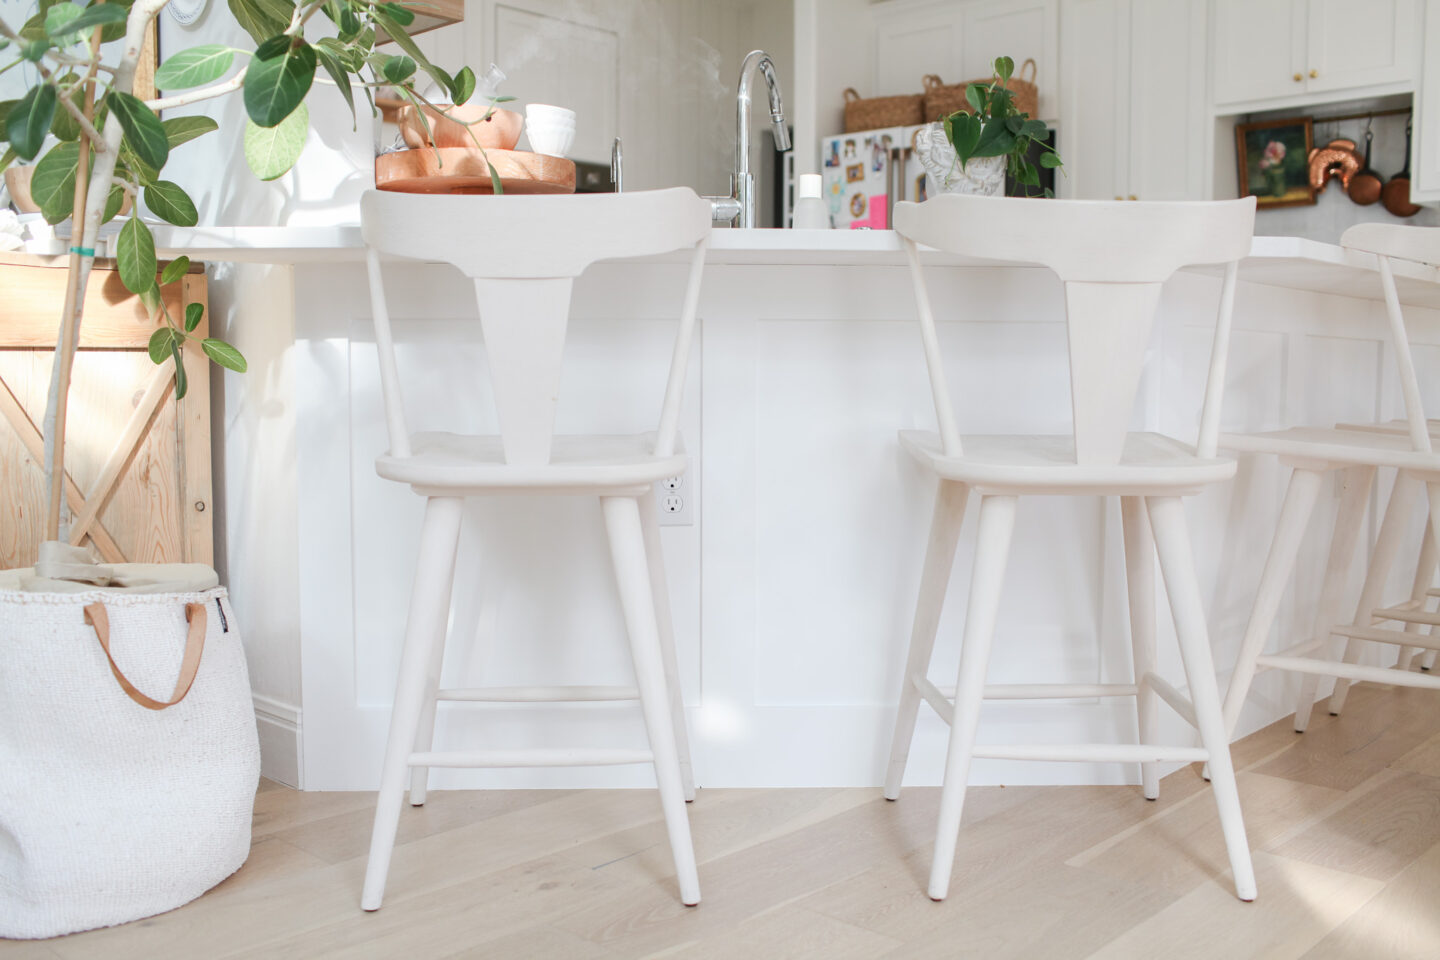
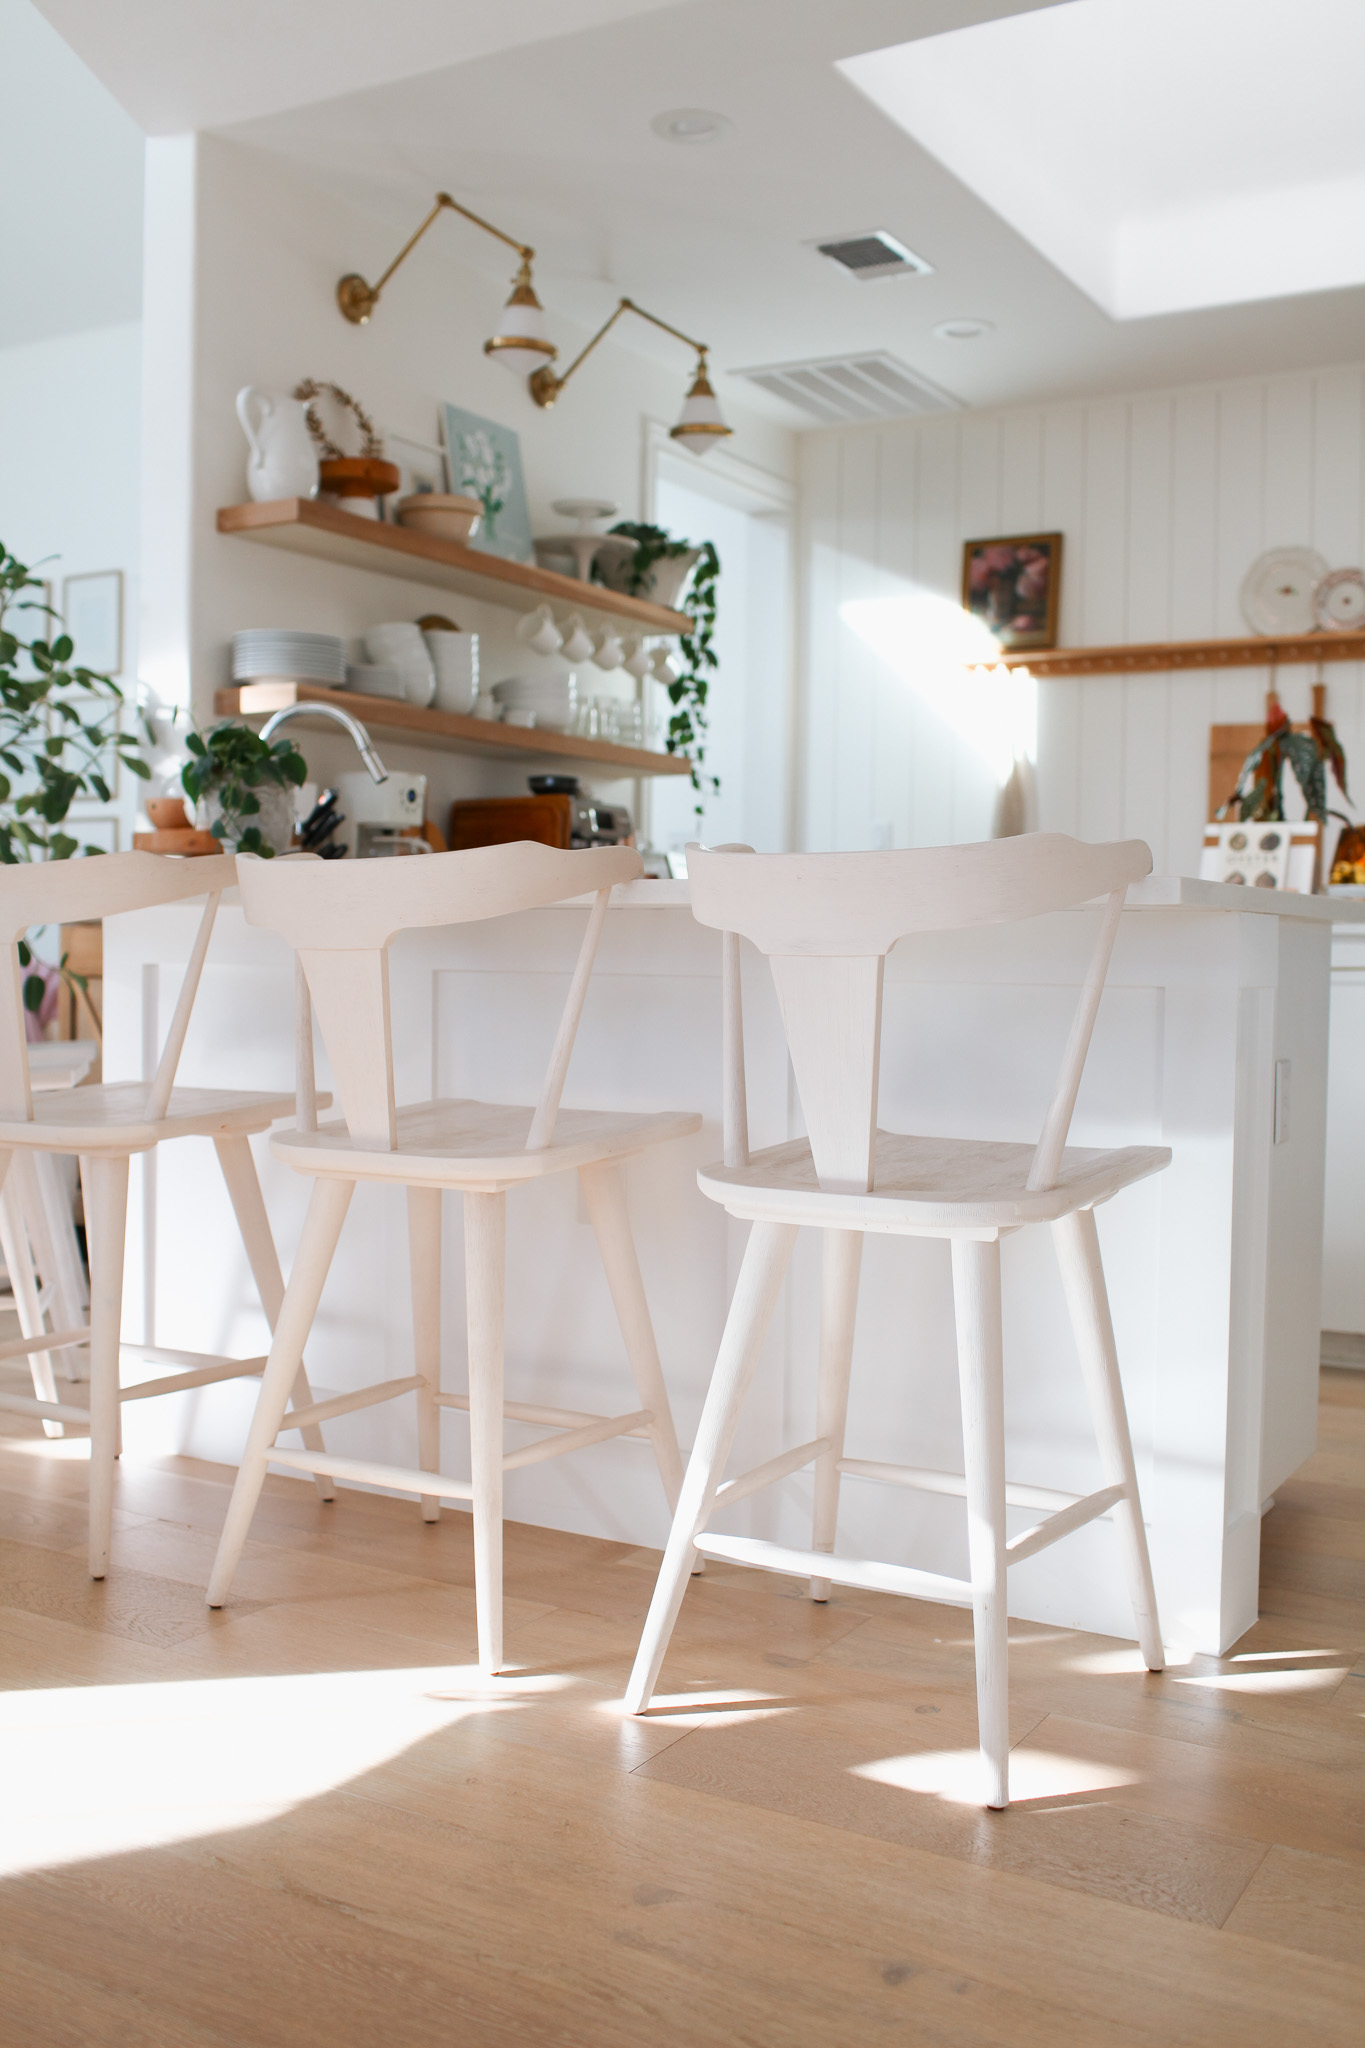
Even though the peninsula view is partially obstructed by the barstools, it still makes a big impact. You notice it even more when your are sitting down in the family room or dining room. Instant sophistication.
Things to Consider in Design
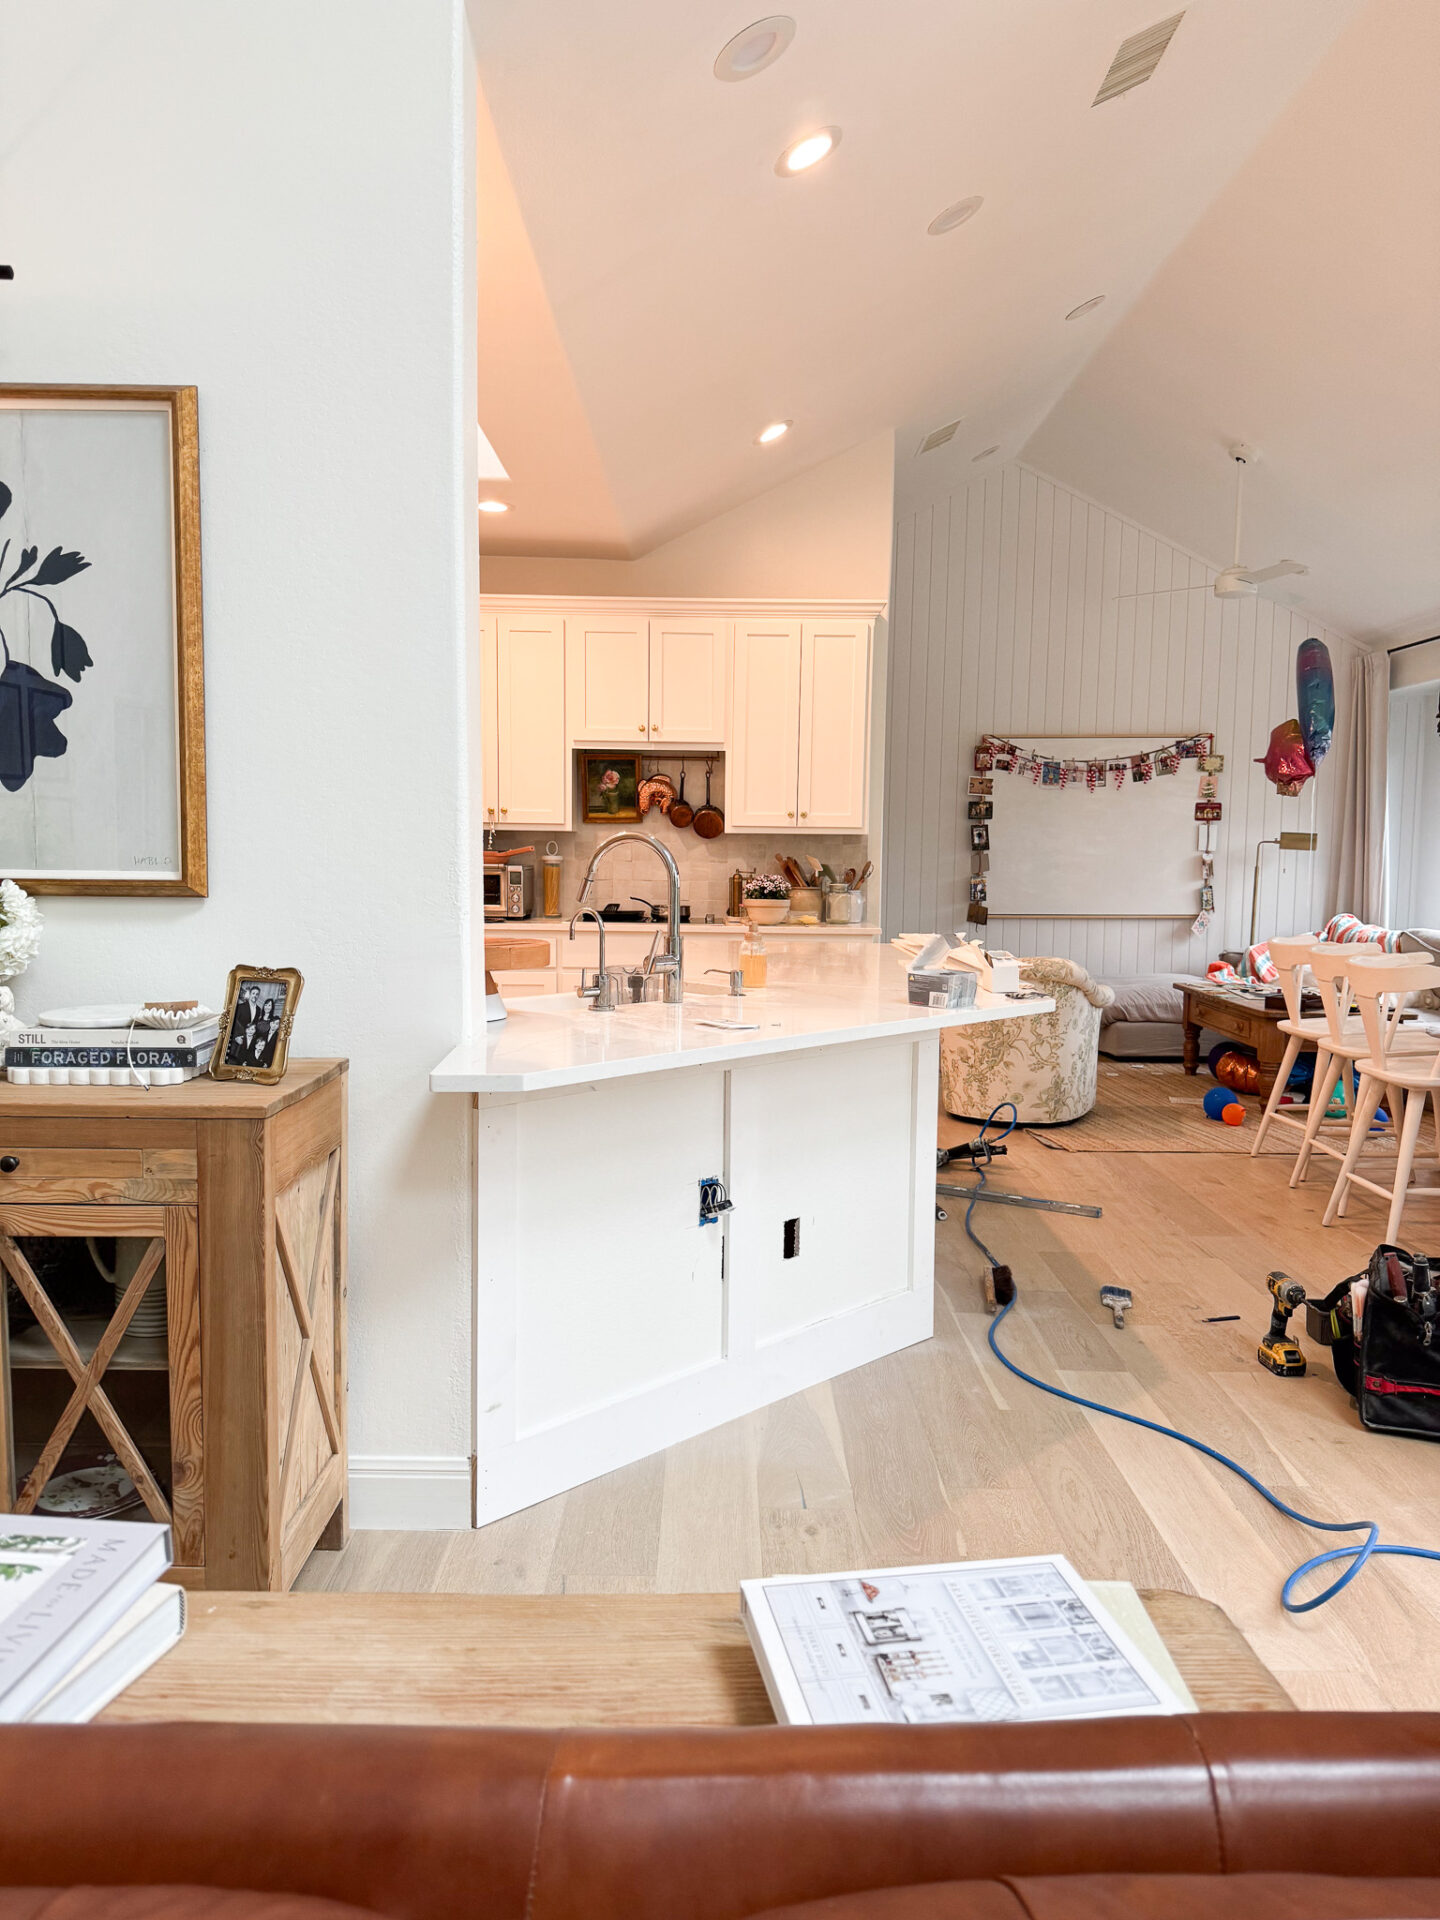
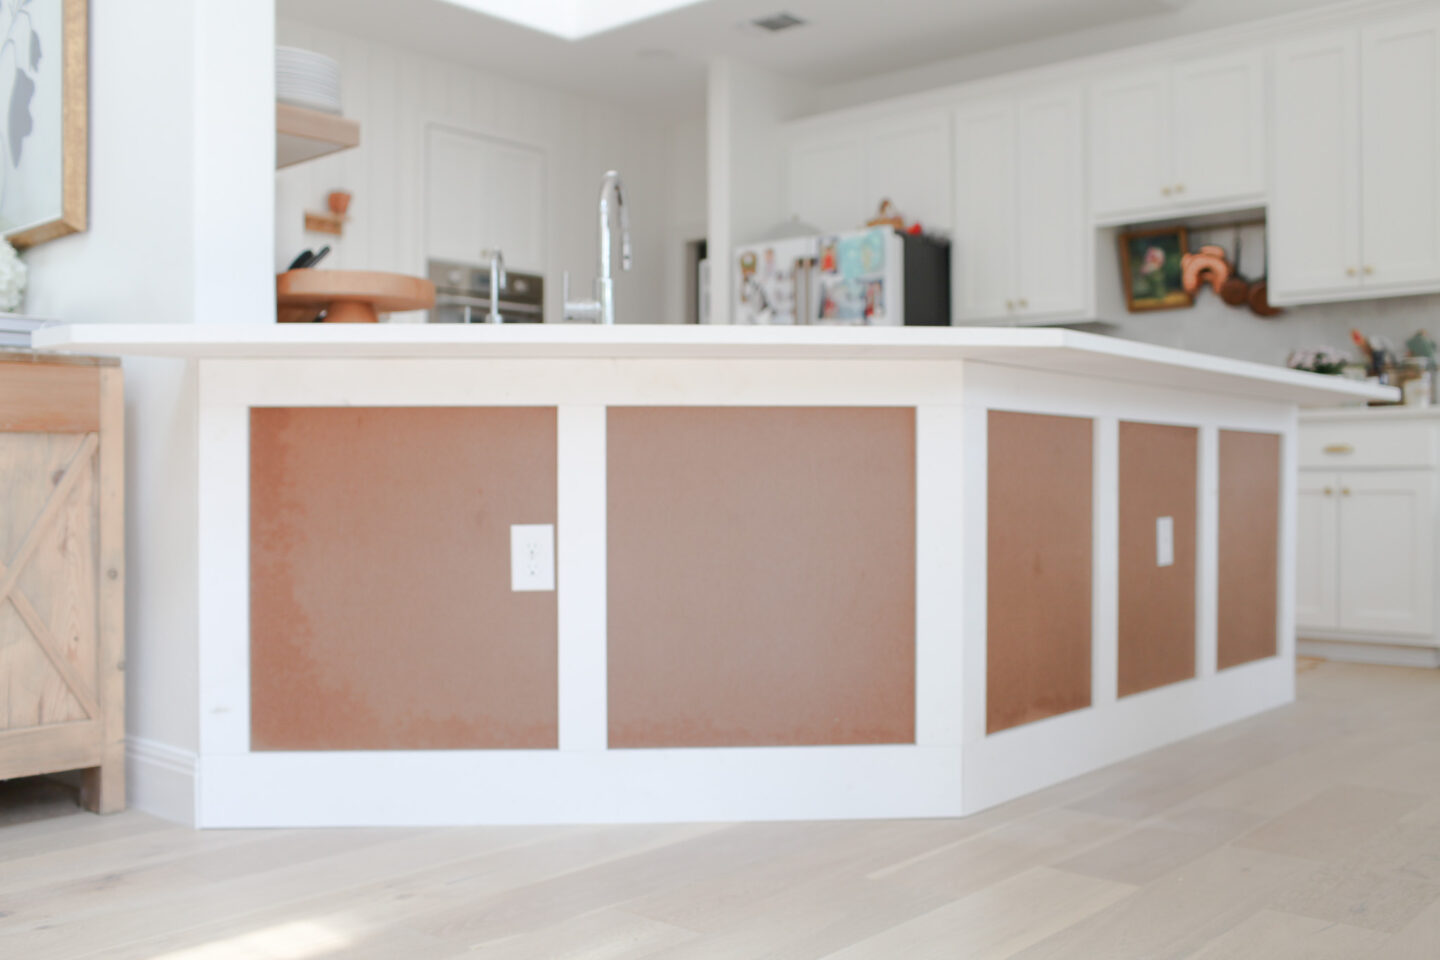
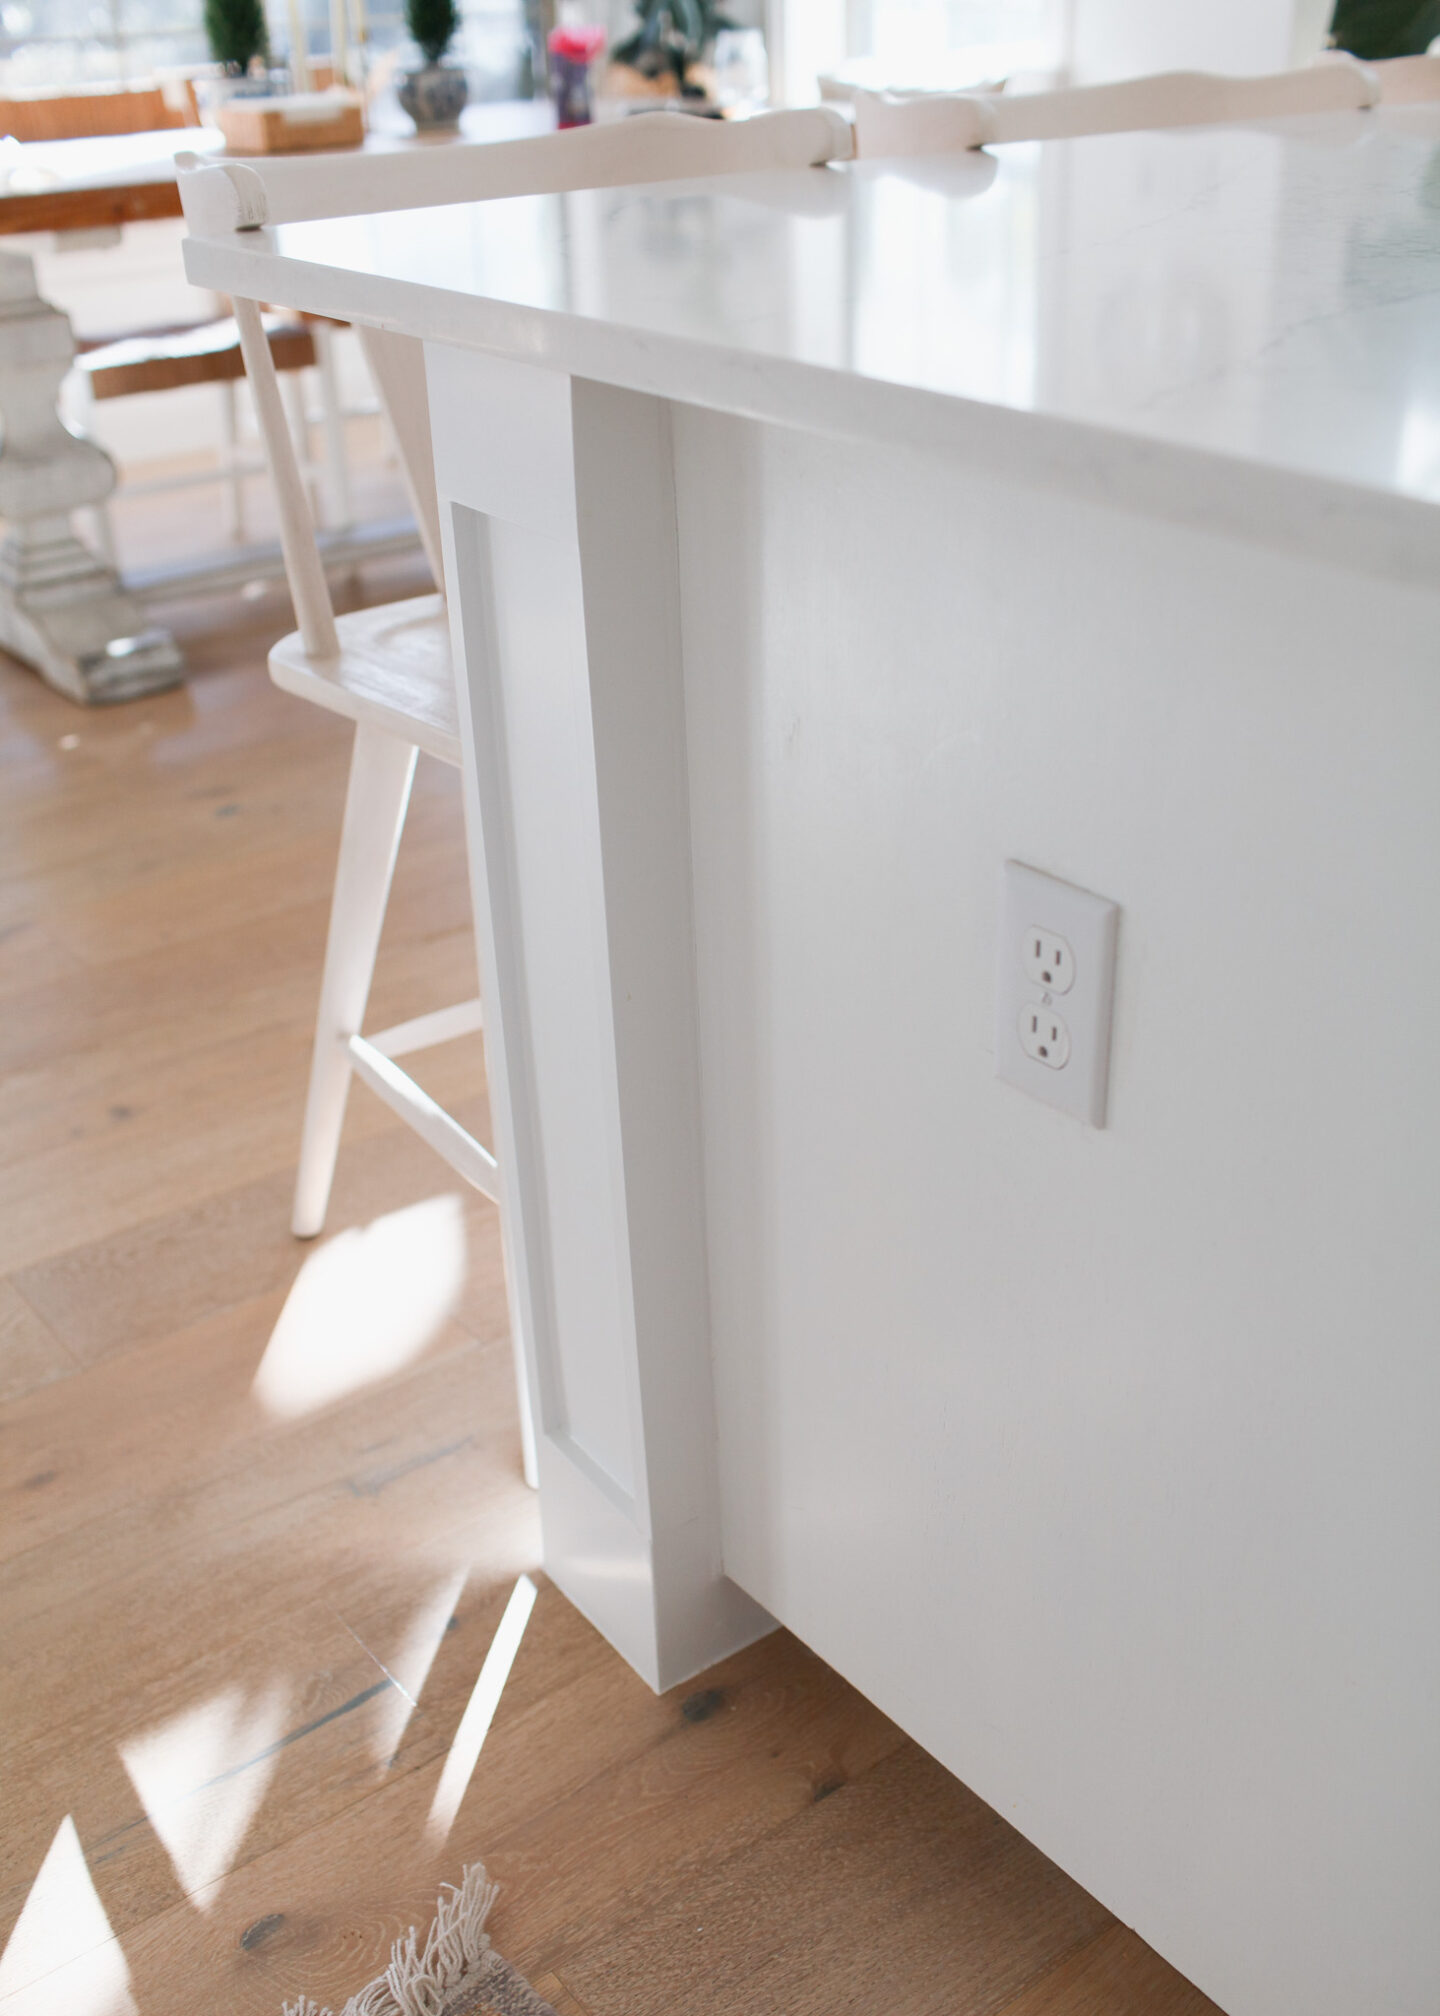
See how the counter used to be elevated? Well there were 2 electrical outlets on the kitchen side of that step-bar that I had to move when we leveled it. I decided to move the left one down to match one that on the right peninsula wall and centered it on that wall. The other got moved to the side of the cabinet by the peninsula column joining area. The electrocution just cut a rectangle into the cabinet!
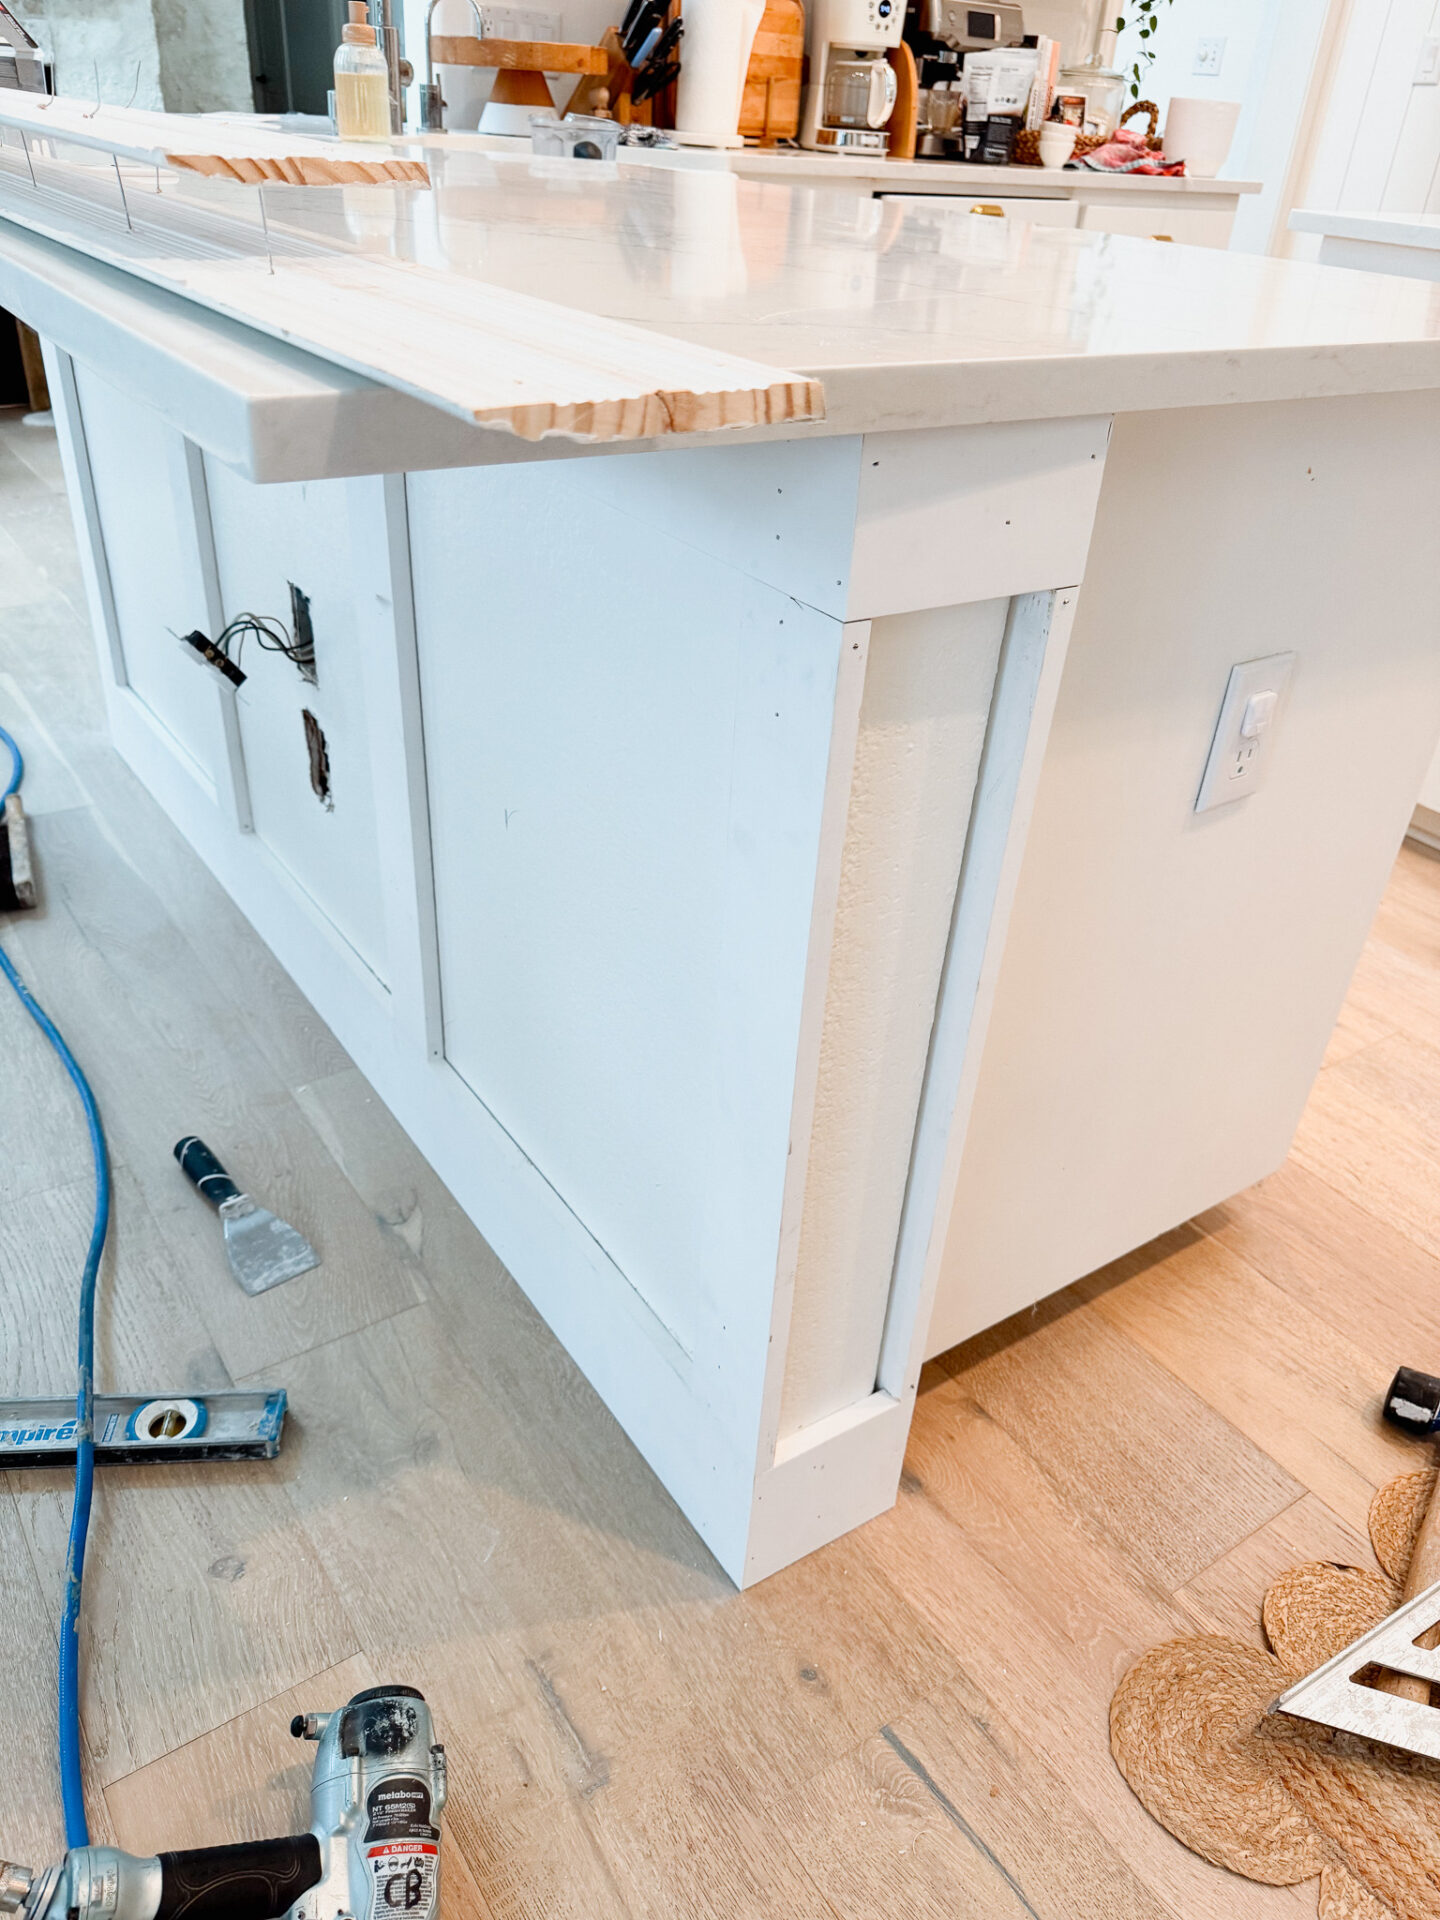
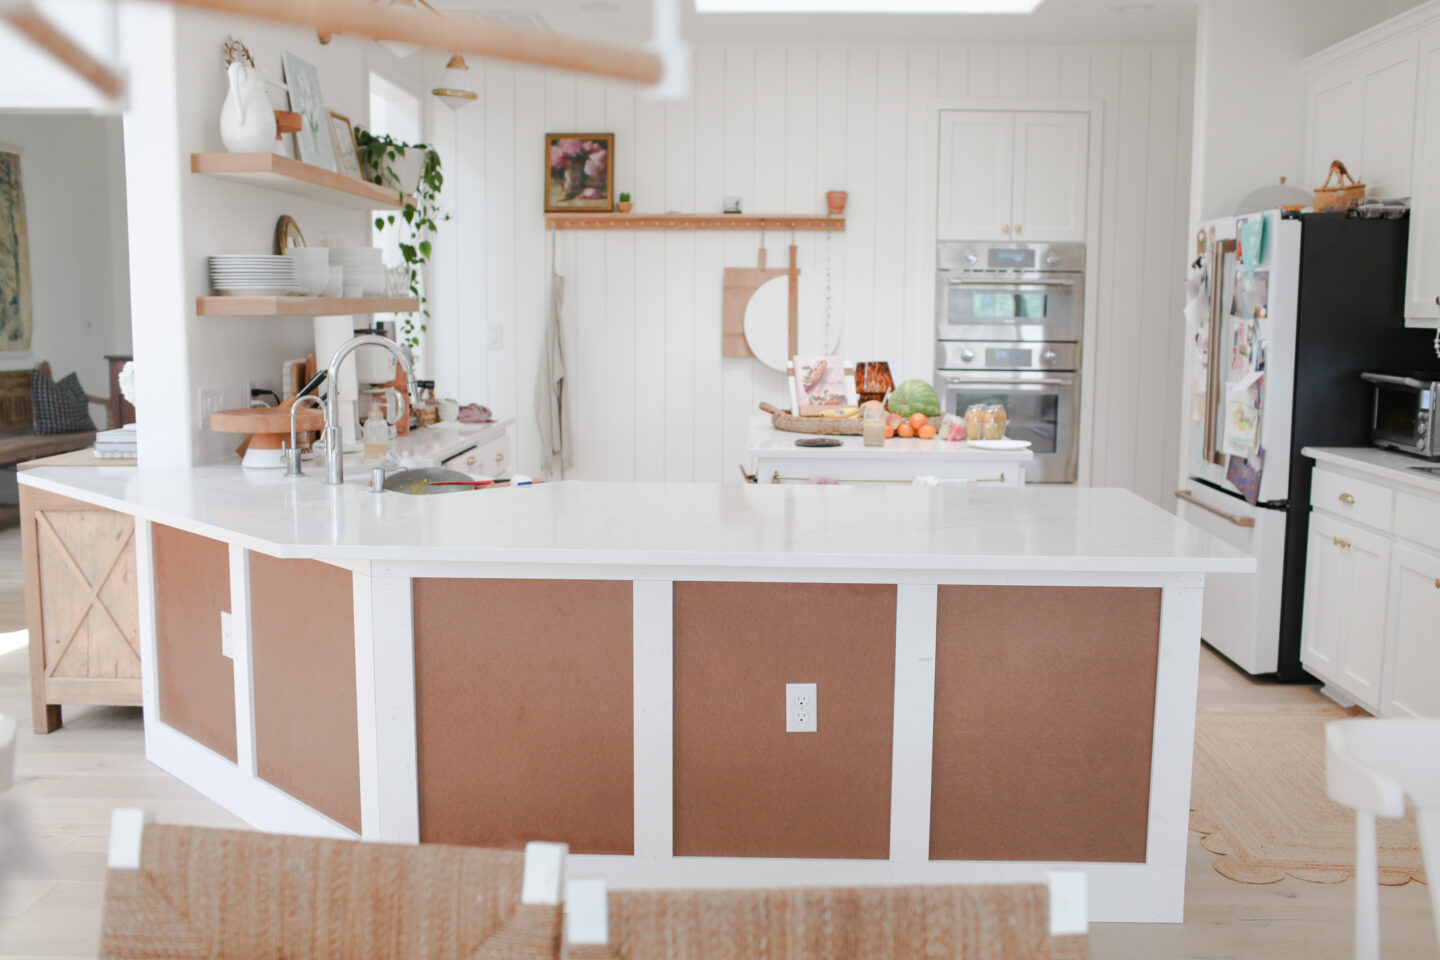
Well, when it came time to space out the wainscoting panels, one of the outlets (the left side as you look at the peninsula) was going to be right where a panel was! Crisis averted because our contractor was able to cut a new drywall rectangle and slide the electrical box over a bit to the left so that it did not affect the design. Then he moved the right one up to match the height of the new left location and give symmetry. Ideally I’d want both outlets to fall at the same spot on each wall respectively but PHEW this worked out fine. Keep that in mind when setting up your project. See if you need an electrician to first move any thing or if you have things that have some play.
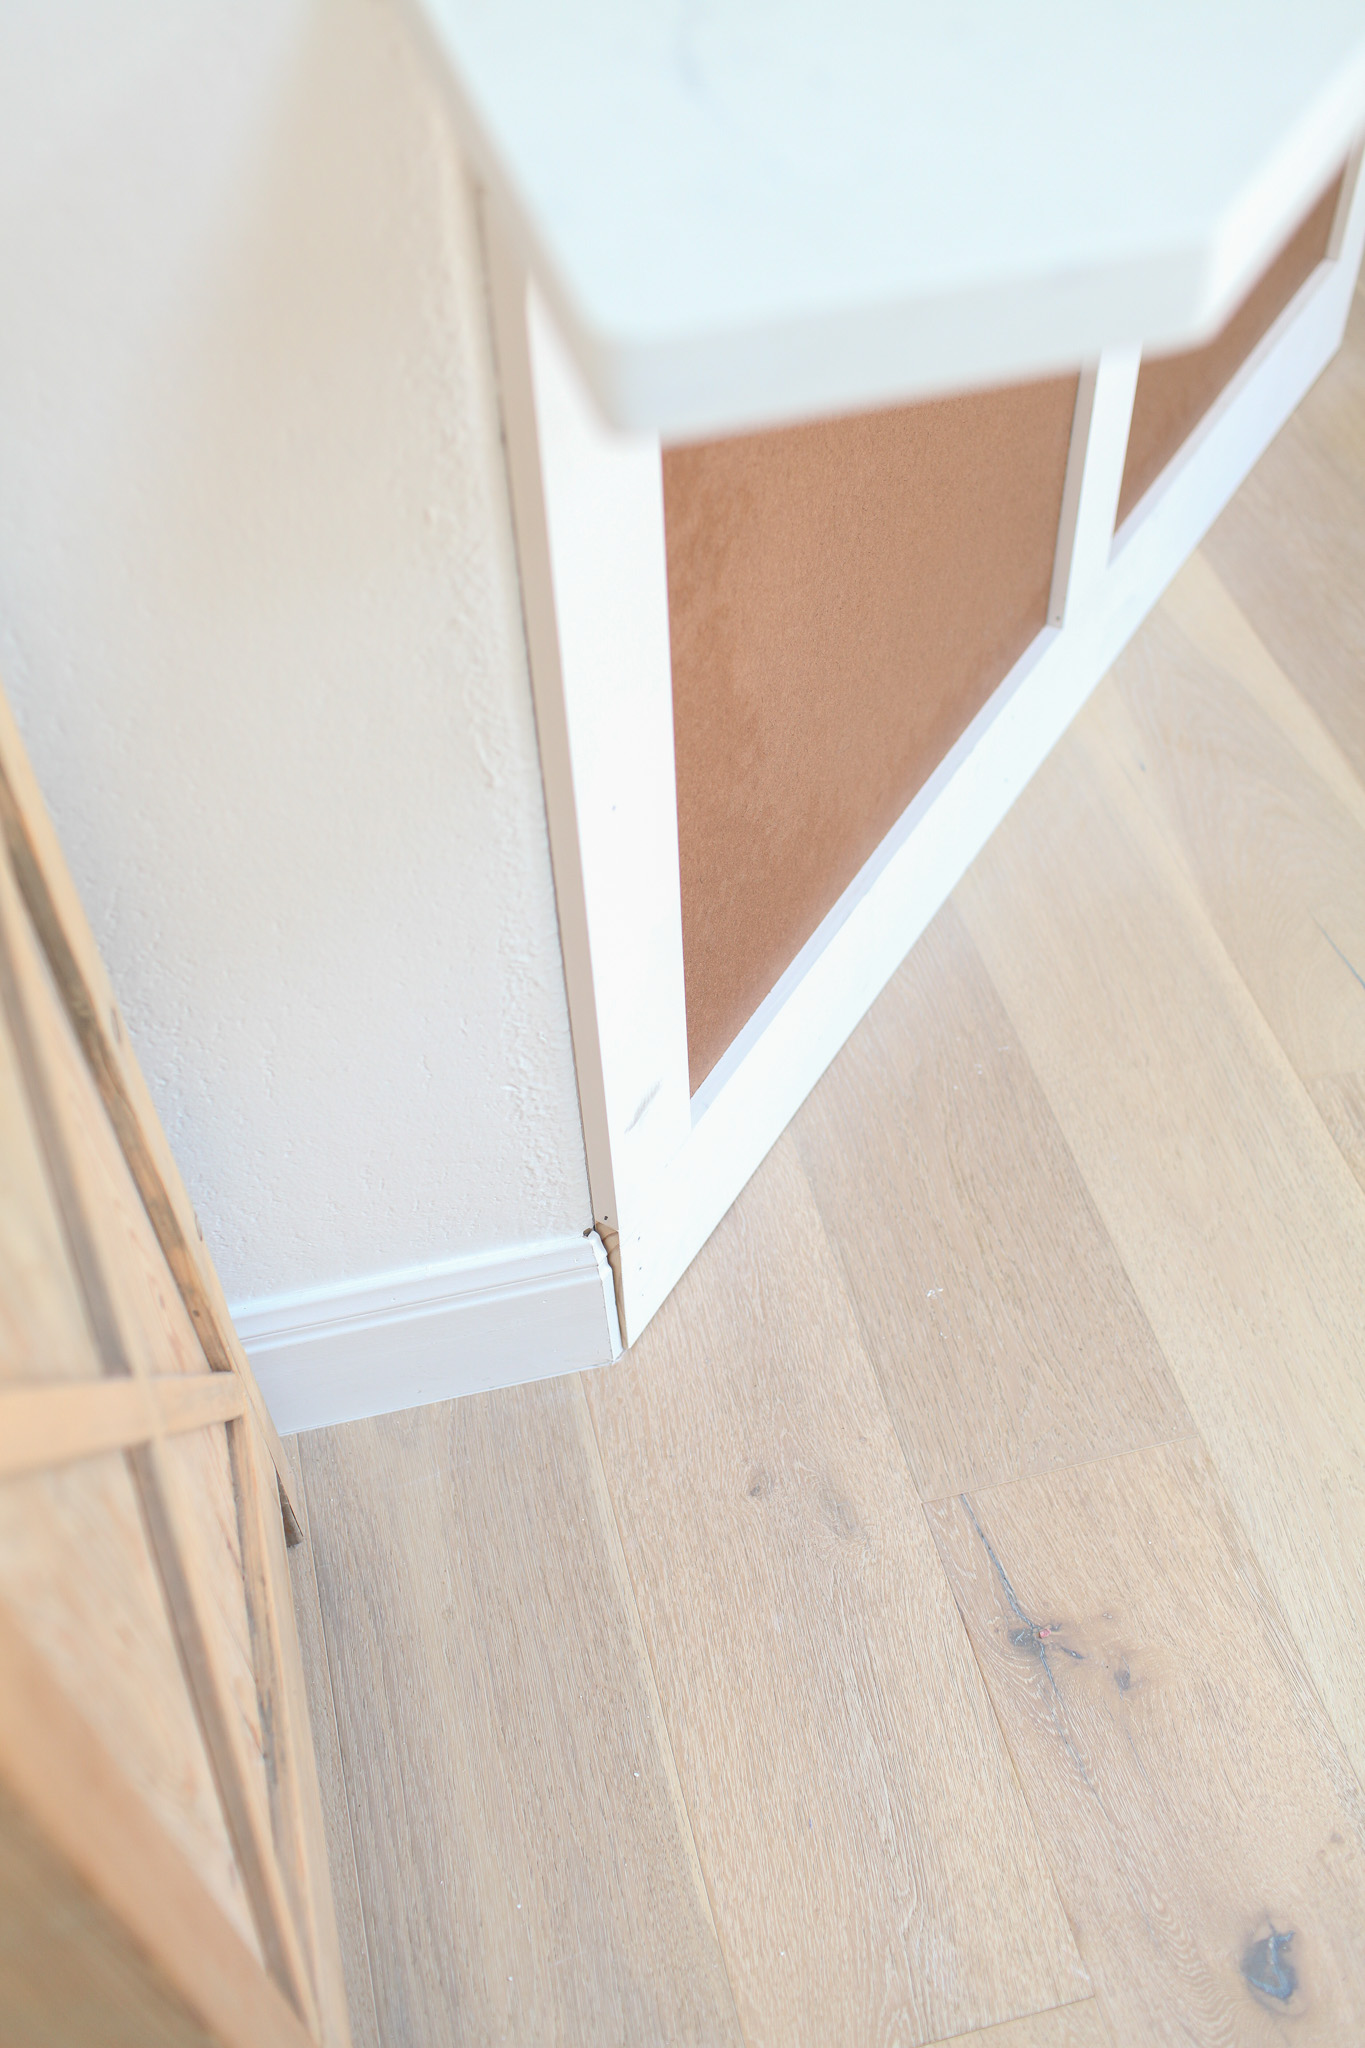
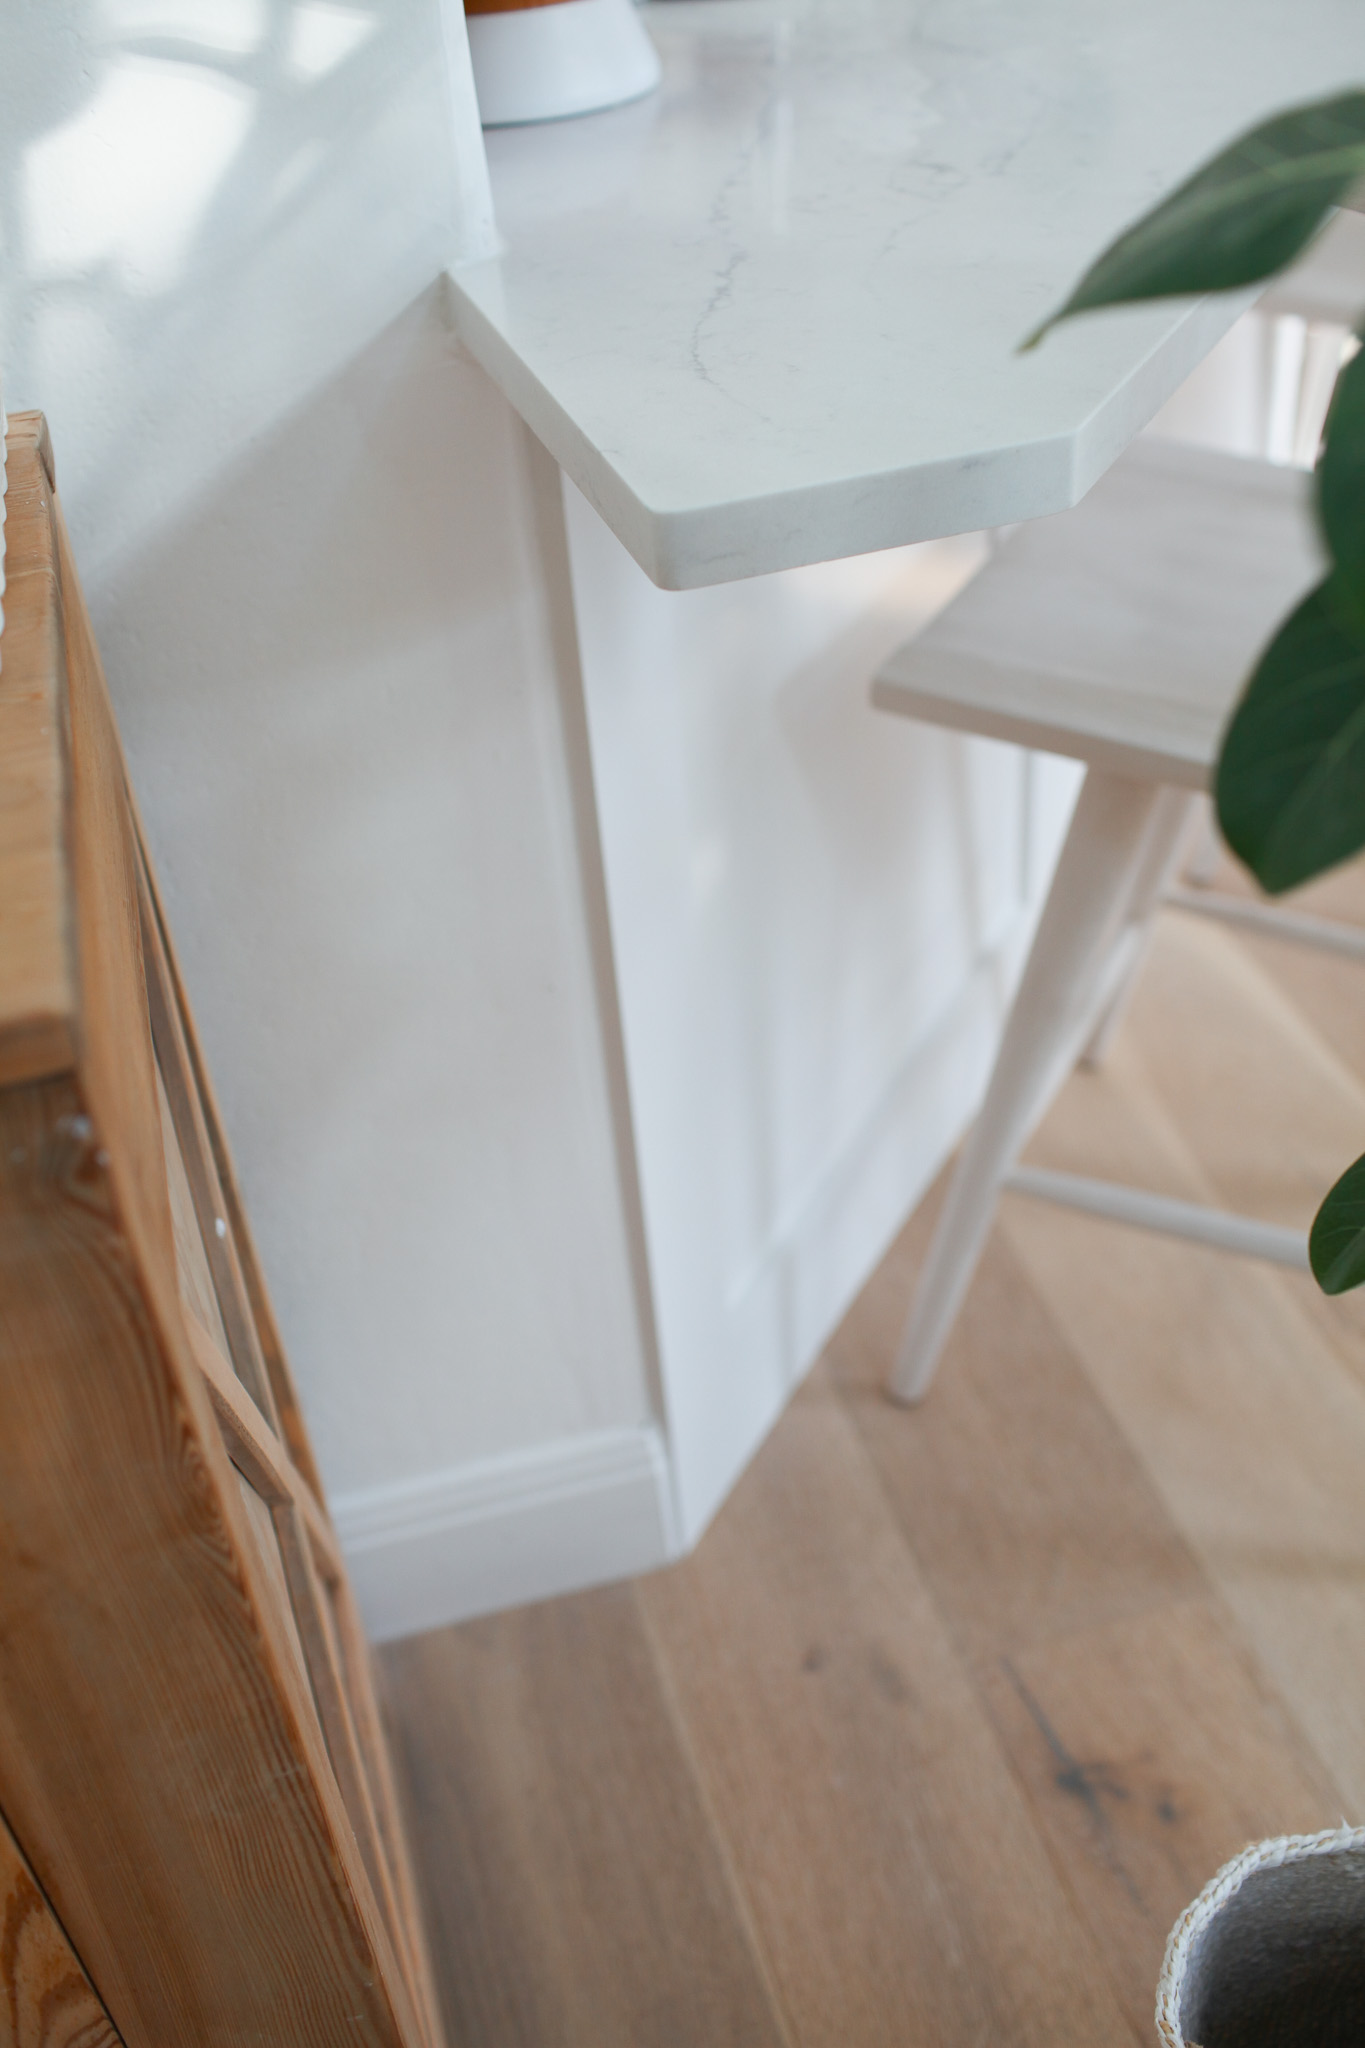
Figure out how you want to end the paneling. There are classic ways to end it like the way you can see above. The contractor removed the baseboard, cut a tiny piece and put it next to the baseboard of the wall that the peninsula meets. This is a sign of a good woodworker. The edge was caulked and even smoothed to even out that super bumpy corner texture.
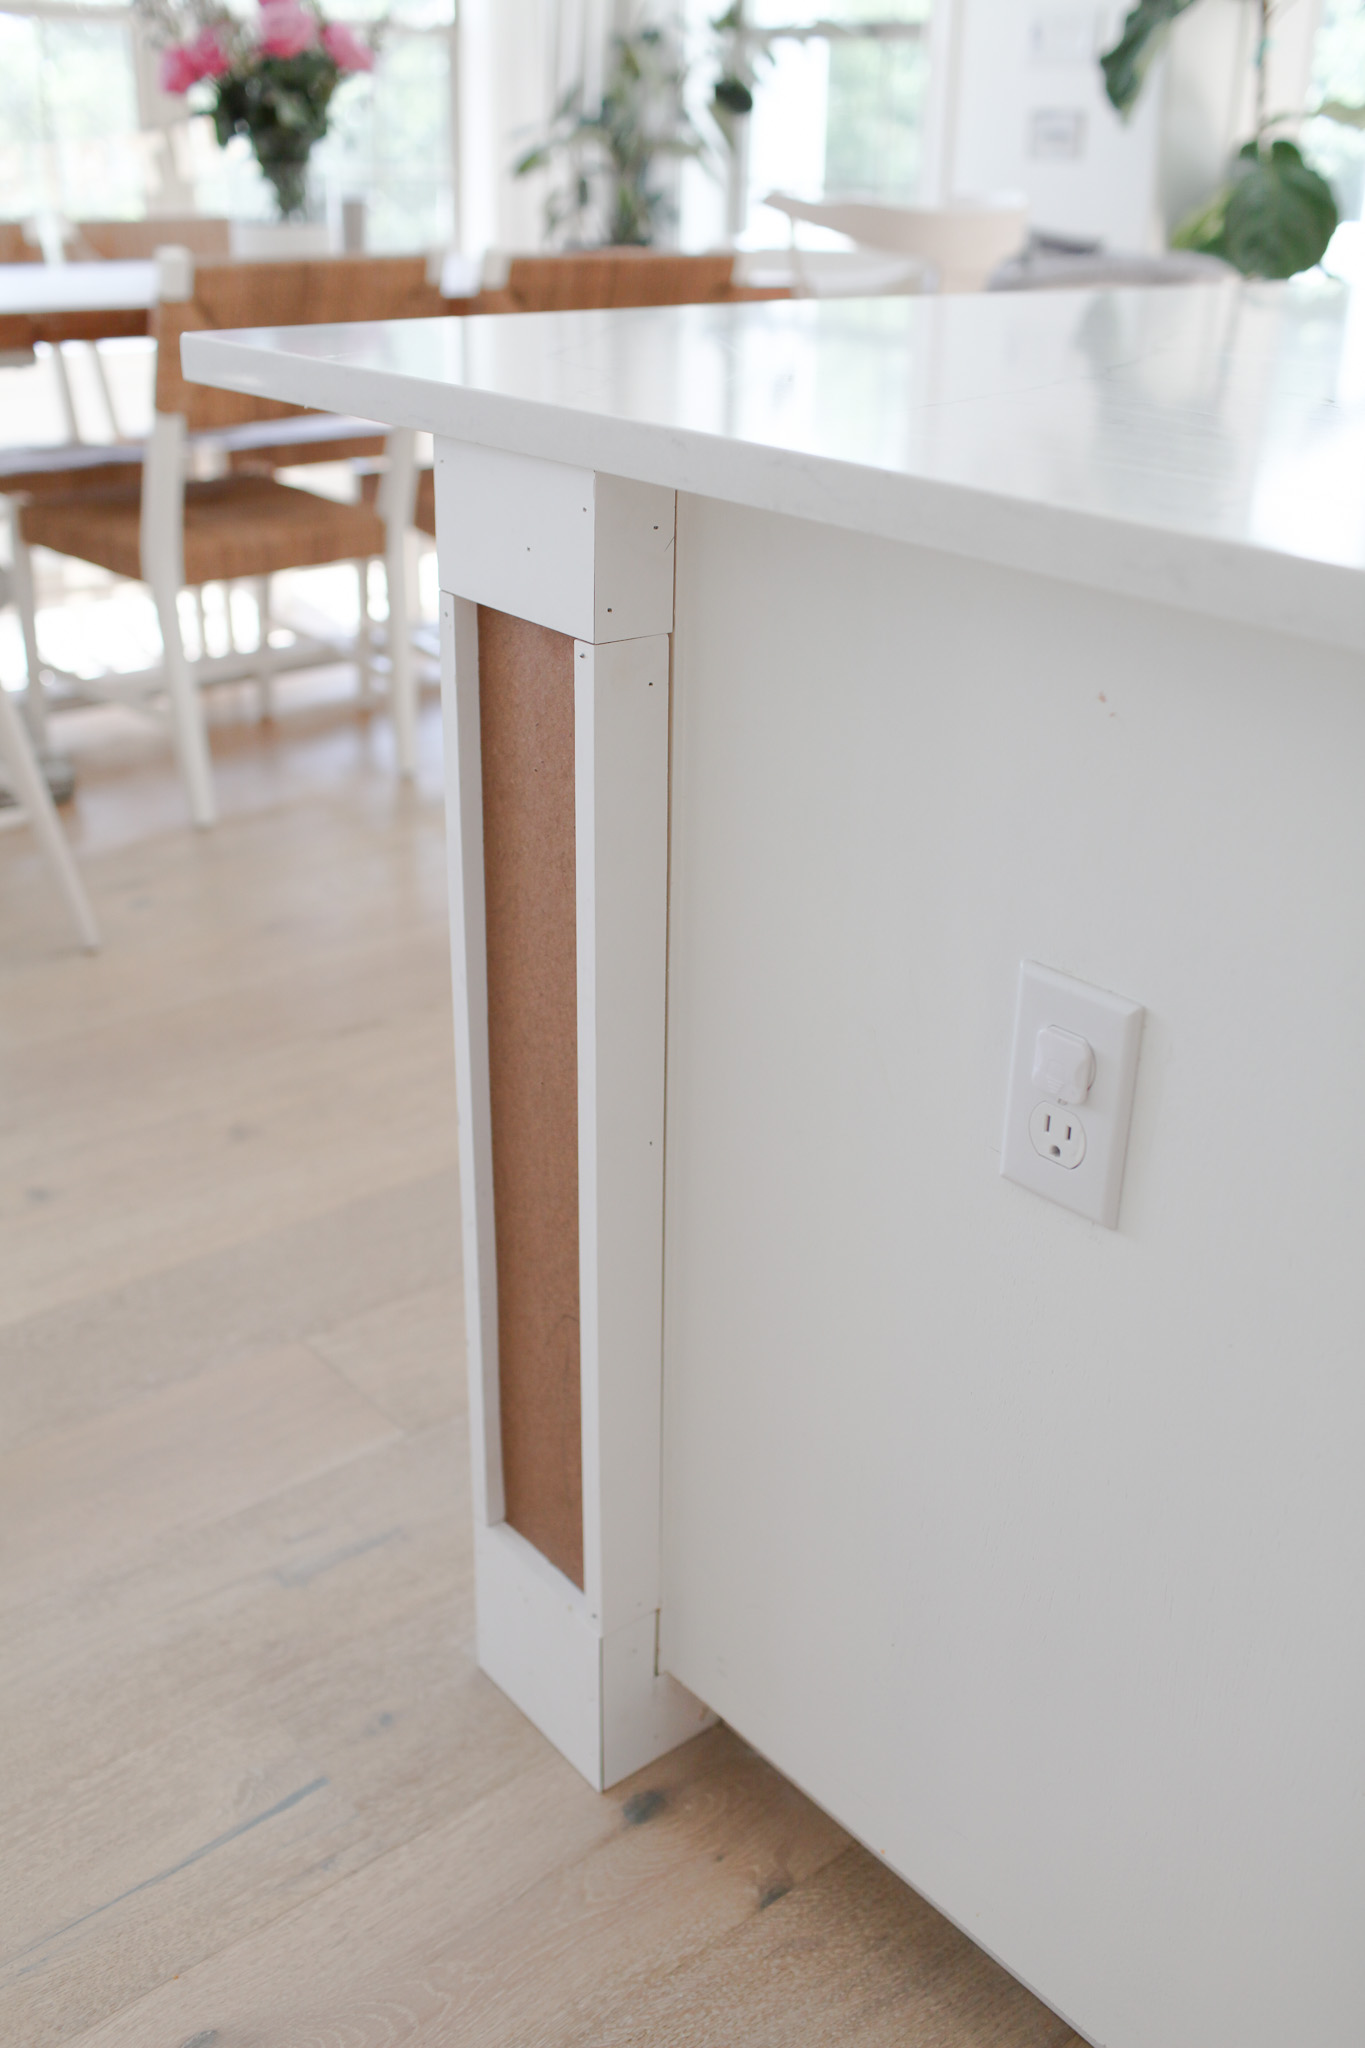
On the corner where the wainscoting meets the cabinet, the contractor suguessted this shaker style blocking and at first I was unsure because I had planned on it just being boxed out but I am so happy he did this! It looks way more professional and intentional. It was a rounded bullnose corner on both sides and now that it’s blocked off with corners, I prefer the look SO much more.
The two walls are not equal in size so I spaced out the boxes as I liked for looks and they do not measure equally from wall to wall but they are evenly spaced on each respective wall. Visually it works great.
Labor, Materials and Cost
We had a painter fill nail holes, sand and use a sprayer to prime and paint. We chose Benjamin Moore Extra white which is a color we have on some other paneling in the house. I love a fresh, crispy white for woodwork. Our cabinets are Benjamin Simply White and you can’t even tell the difference because of LIGHT! Light hits walls of your home differently. Choosing different tones of white for different walls can really control the brightness and tones around your space.
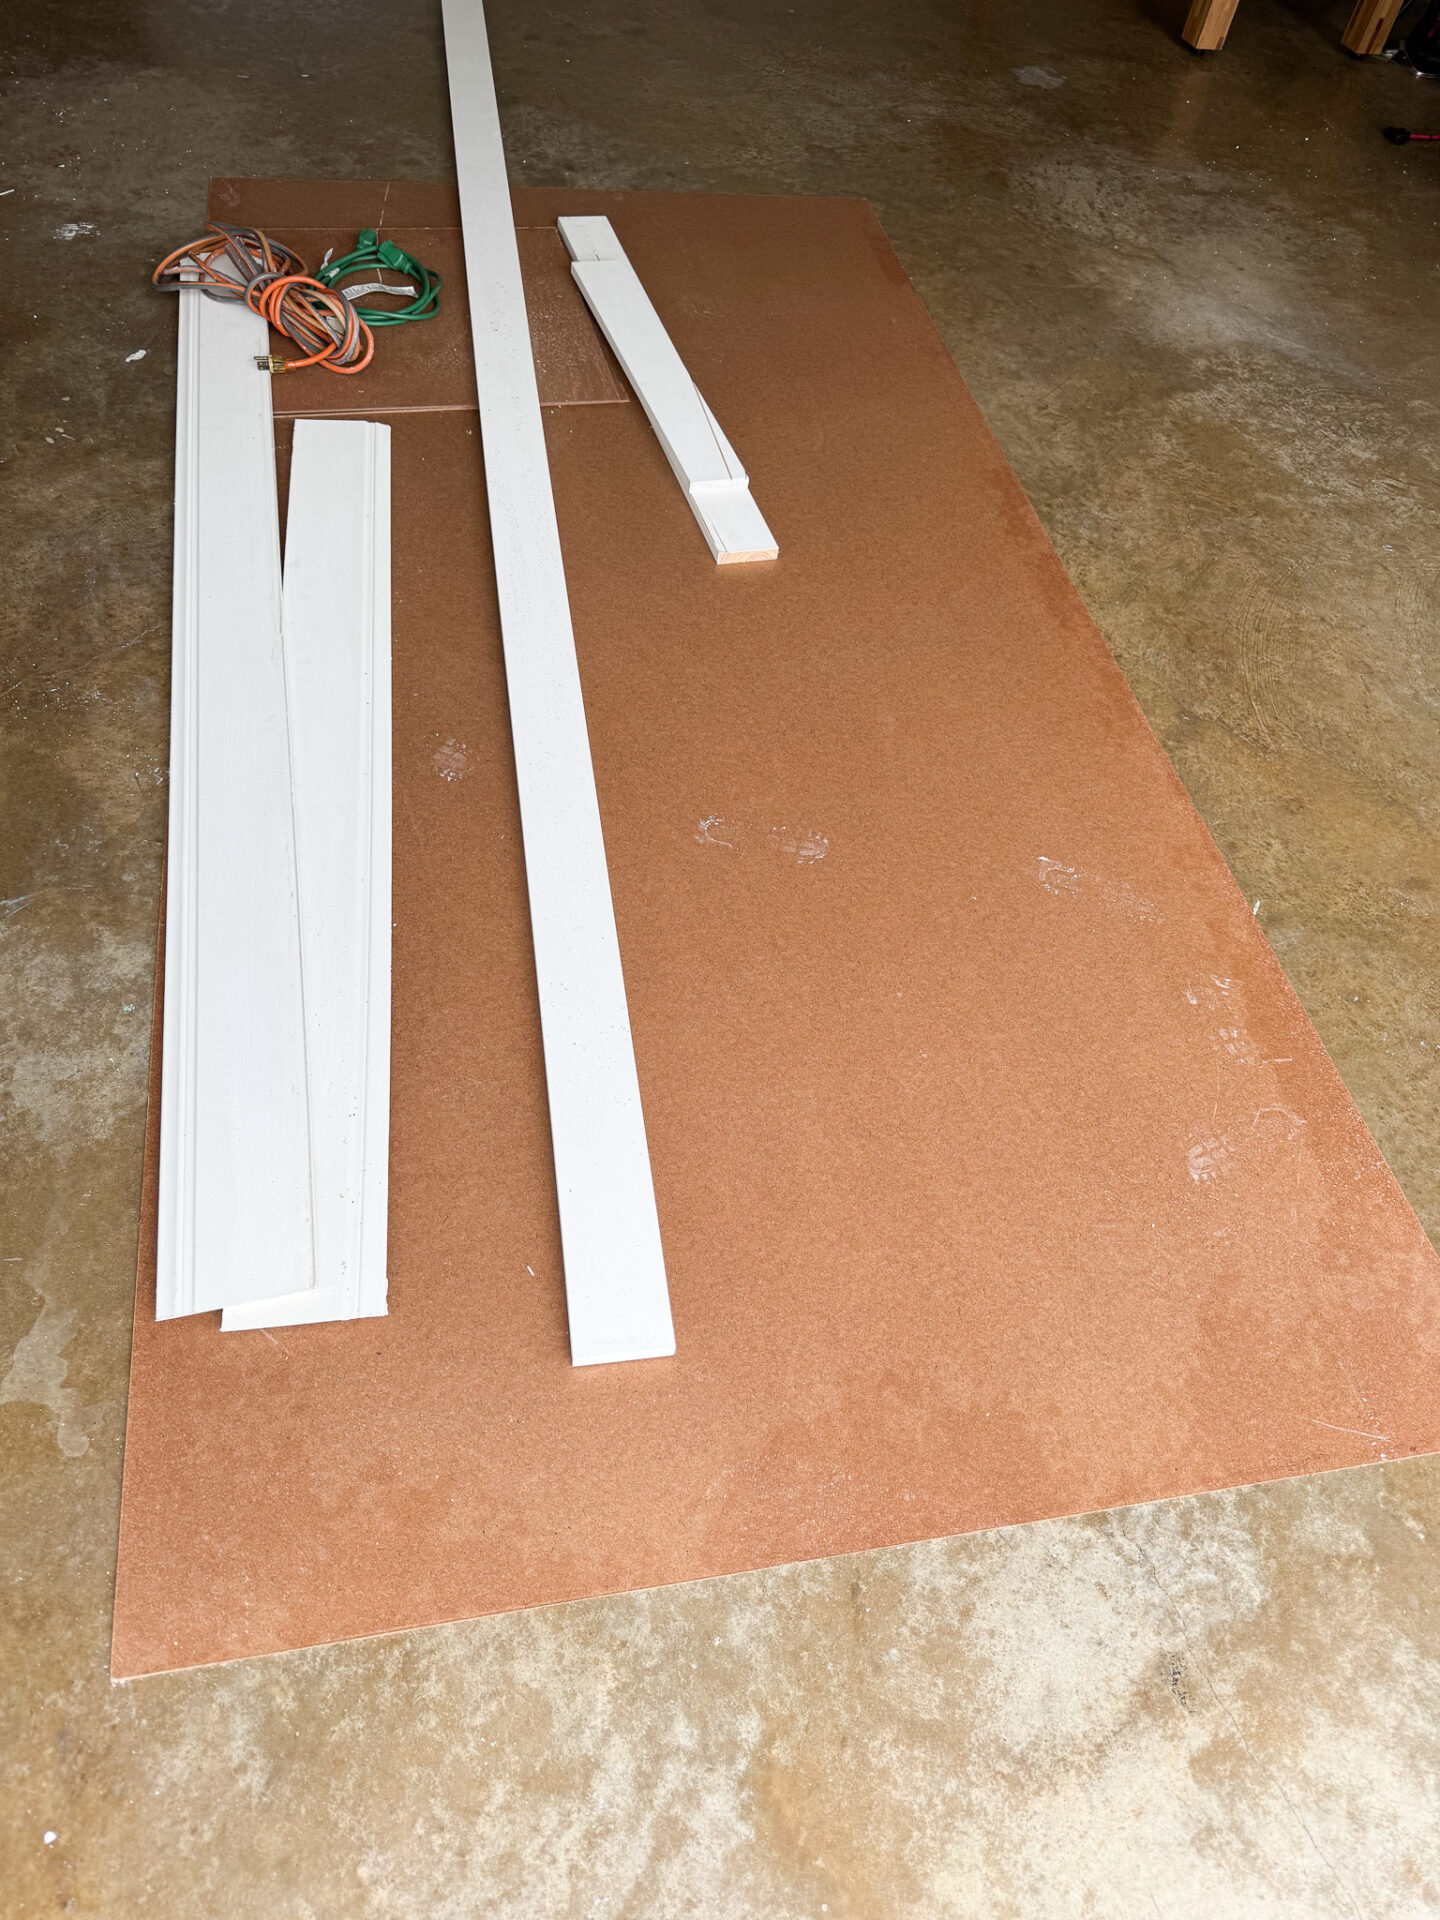
The peninsula walls and all the walls in our home are textured (not my fave). So we chose to do boards along the back to give that beautifully smooth, built in cabinet look. First they applied all the board and batton pieces and then glued on the board inside the rectangles they created.
The materials for the paneling were quite inexpensive. The labor took less than 2 hours if I recall and it was the prep/paint and paint materials that were the most costly and labor intensive.
It took about a day and a half to prep and paint the project. That way there were multiple coats which is what you want.
Conclusion
This adds a huge lived in, elevated vibe that we love. Even though it is somewhat obstructed by the barstools, it still contributes to a more sophisticated feeling in this space. It feels fresh and charming. I highly recommend! What do you think?
We use cookies to ensure that we give you the best experience on our website. If you continue to use this site we will assume that you are happy with it.


Leave a Reply
You must be logged in to post a comment.